
The Making Process
As a multi-disciplined artist, I work in various materials and media depending on what outcome I am looking for. Sometimes it’s more successful to achieve a certain effect or idea using, for example, a collagraph over a linoprint as I might like a more ‘rustic’ outcome whereas a linoprint would give me a bolder outcome. Sometimes I want to work on a certain surface or use something as part of the artwork such as an old railway ticket or an old map and so a painting might be more suitable.
I have to admit that I like to work on different projects simultaneously as it depends on how I am feeling on a particular day!


Click on the links for more information on specific techniques.
Lino Printing
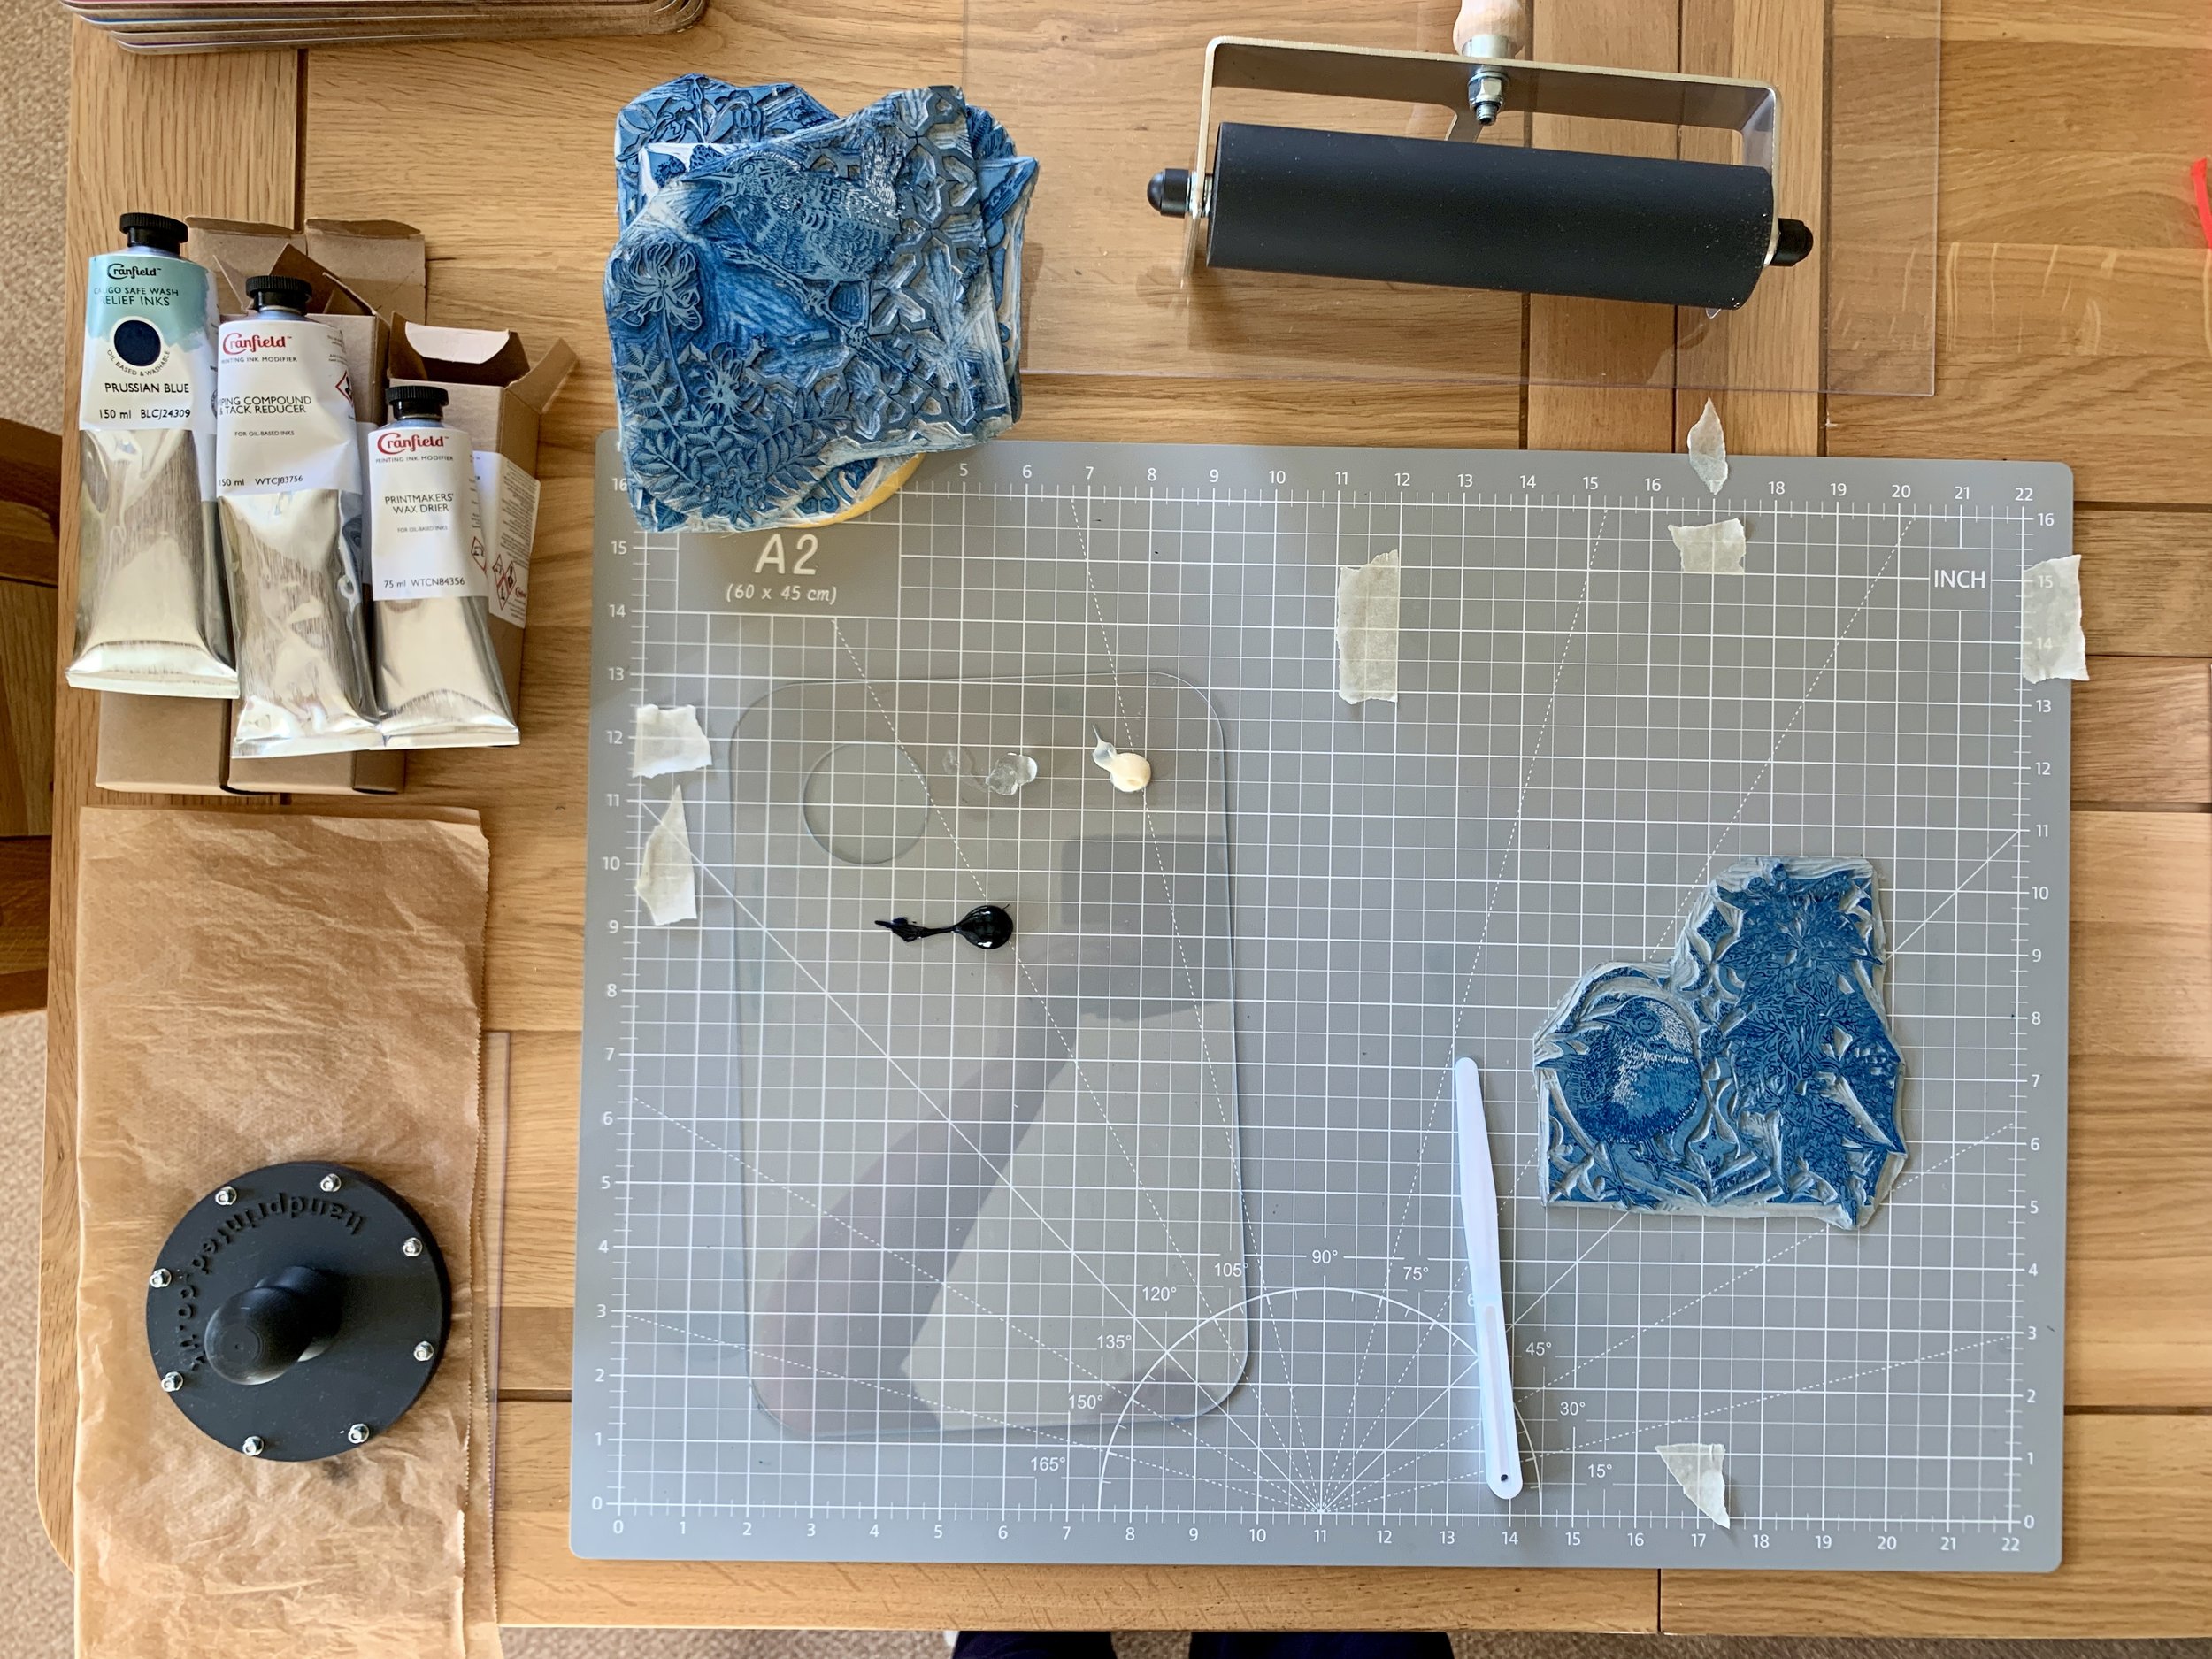
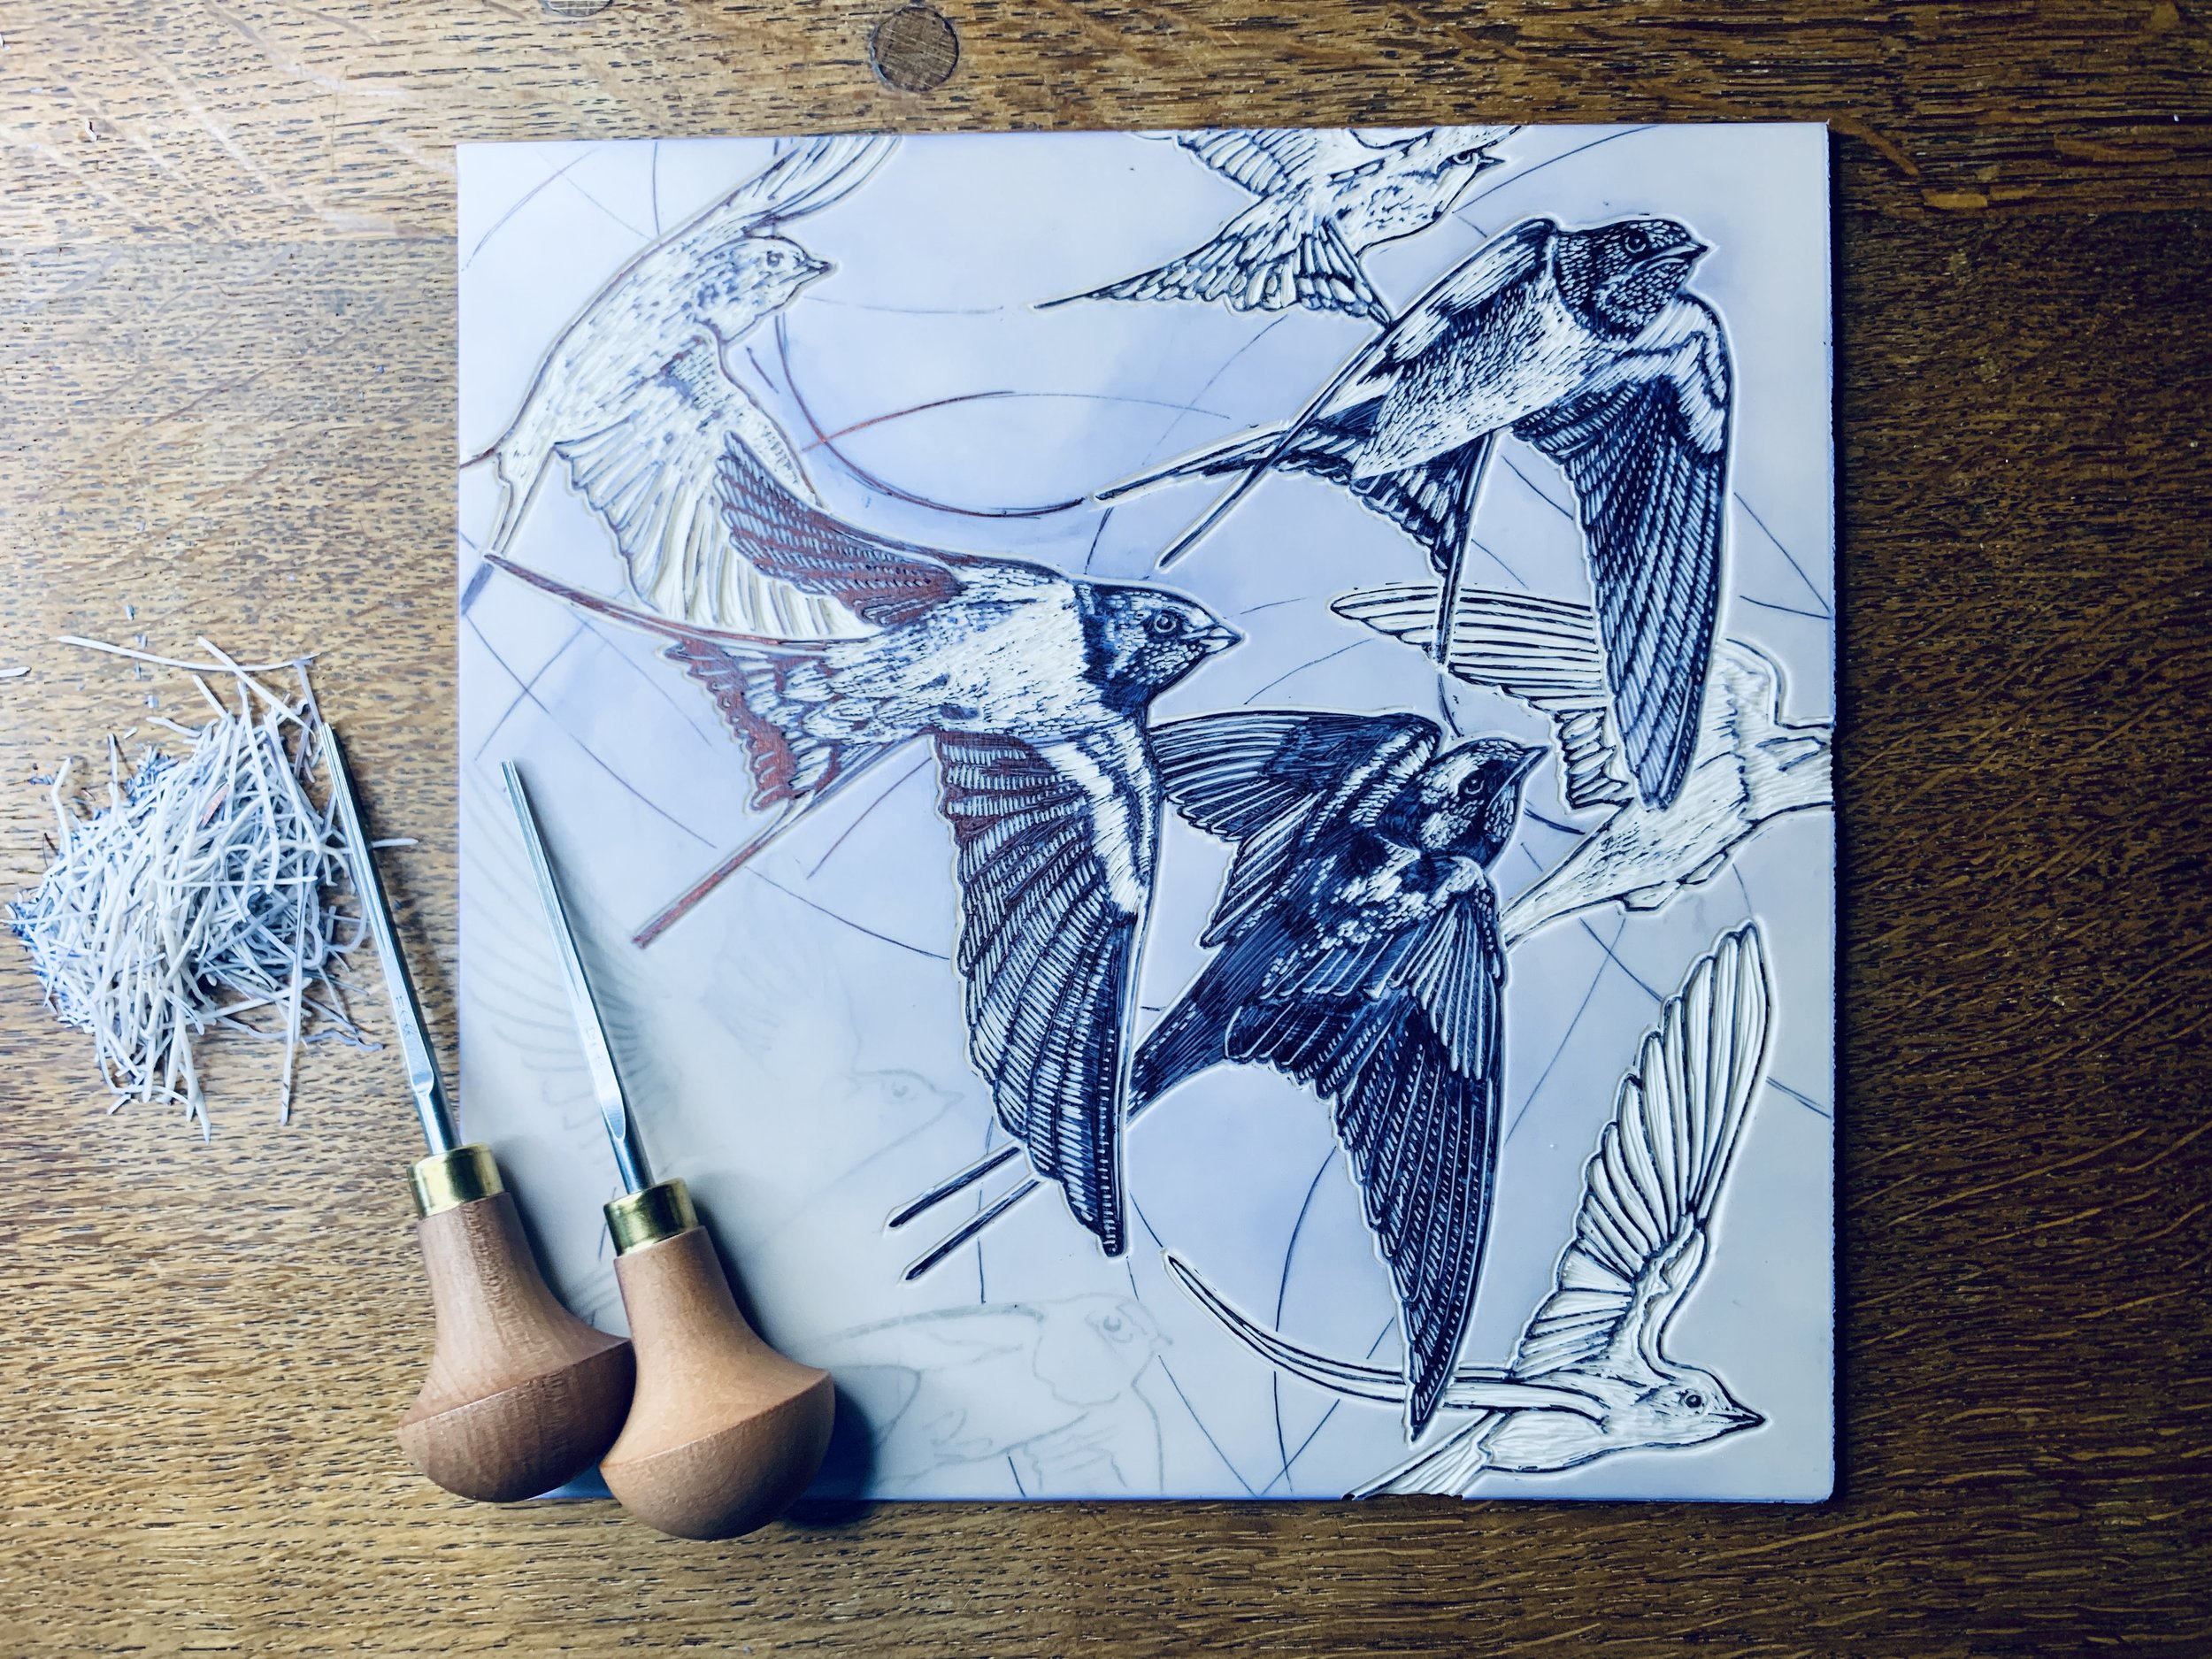
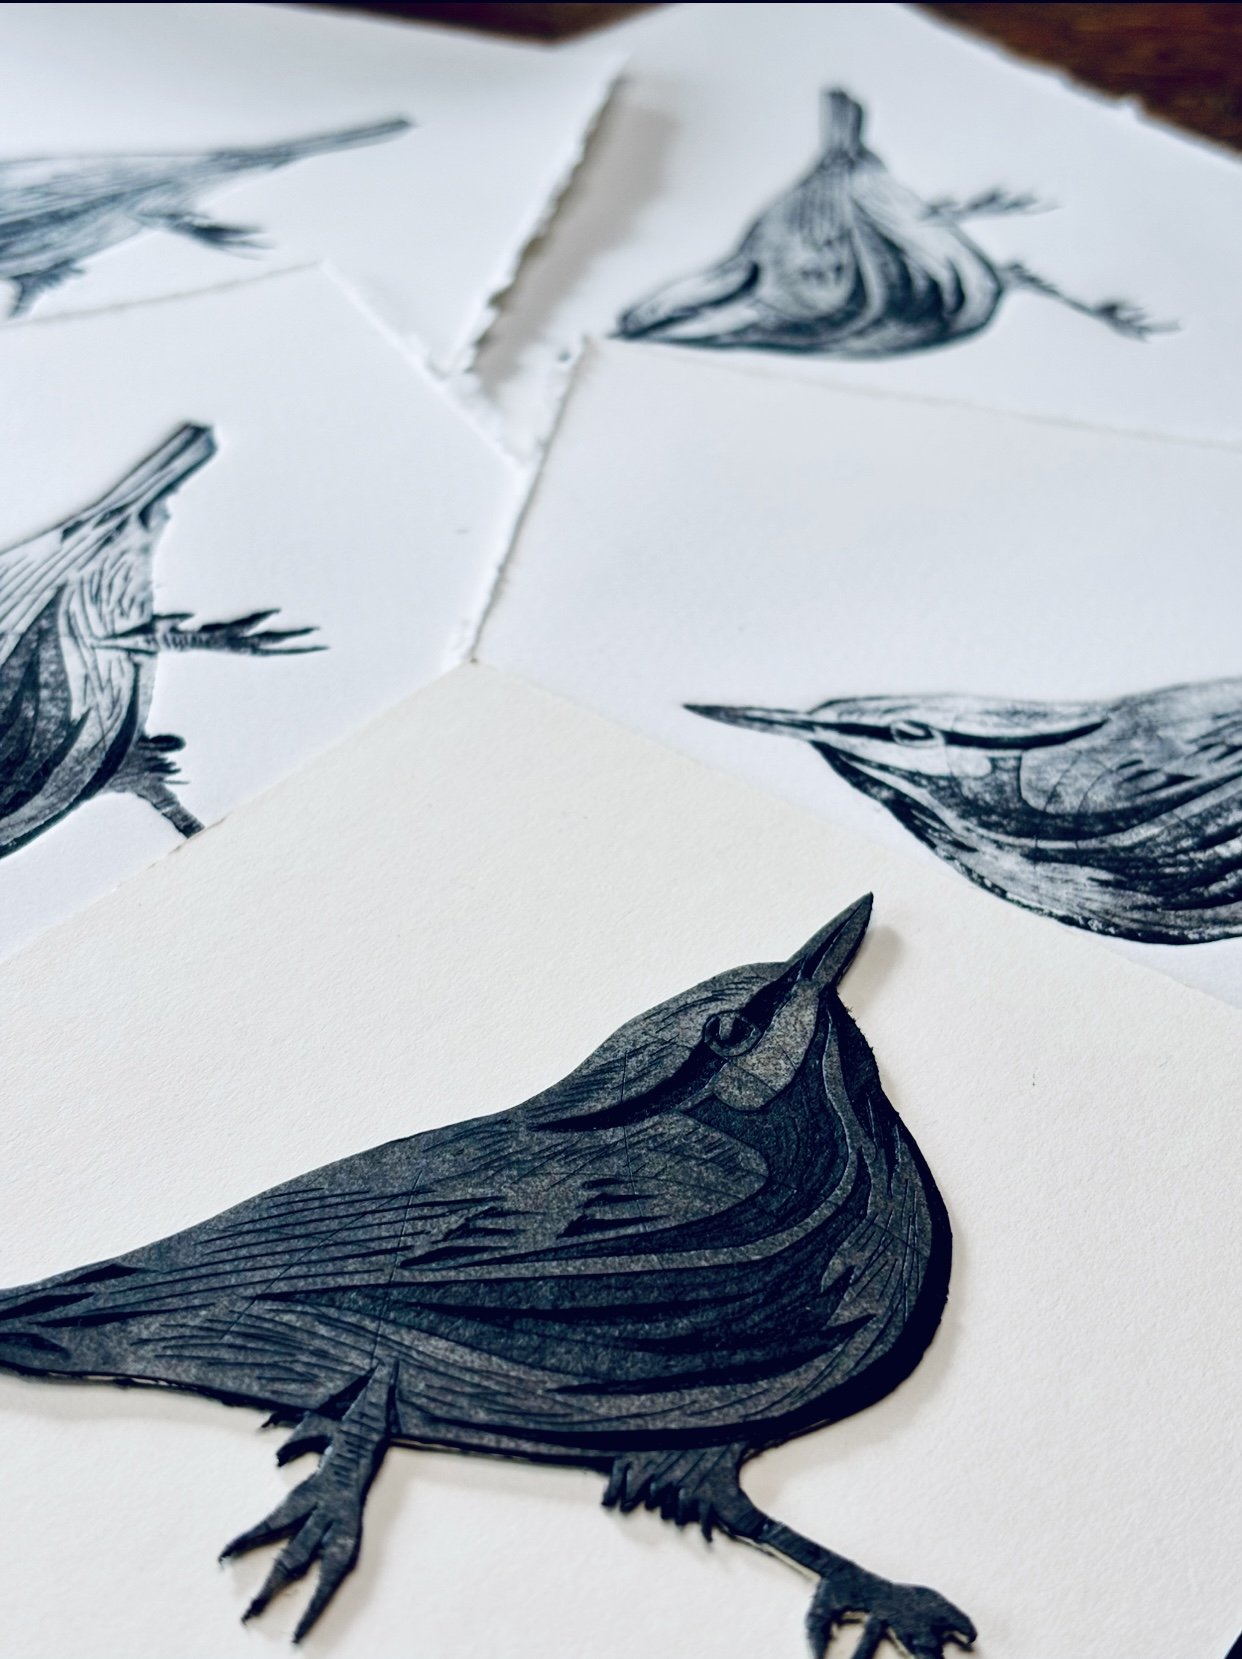
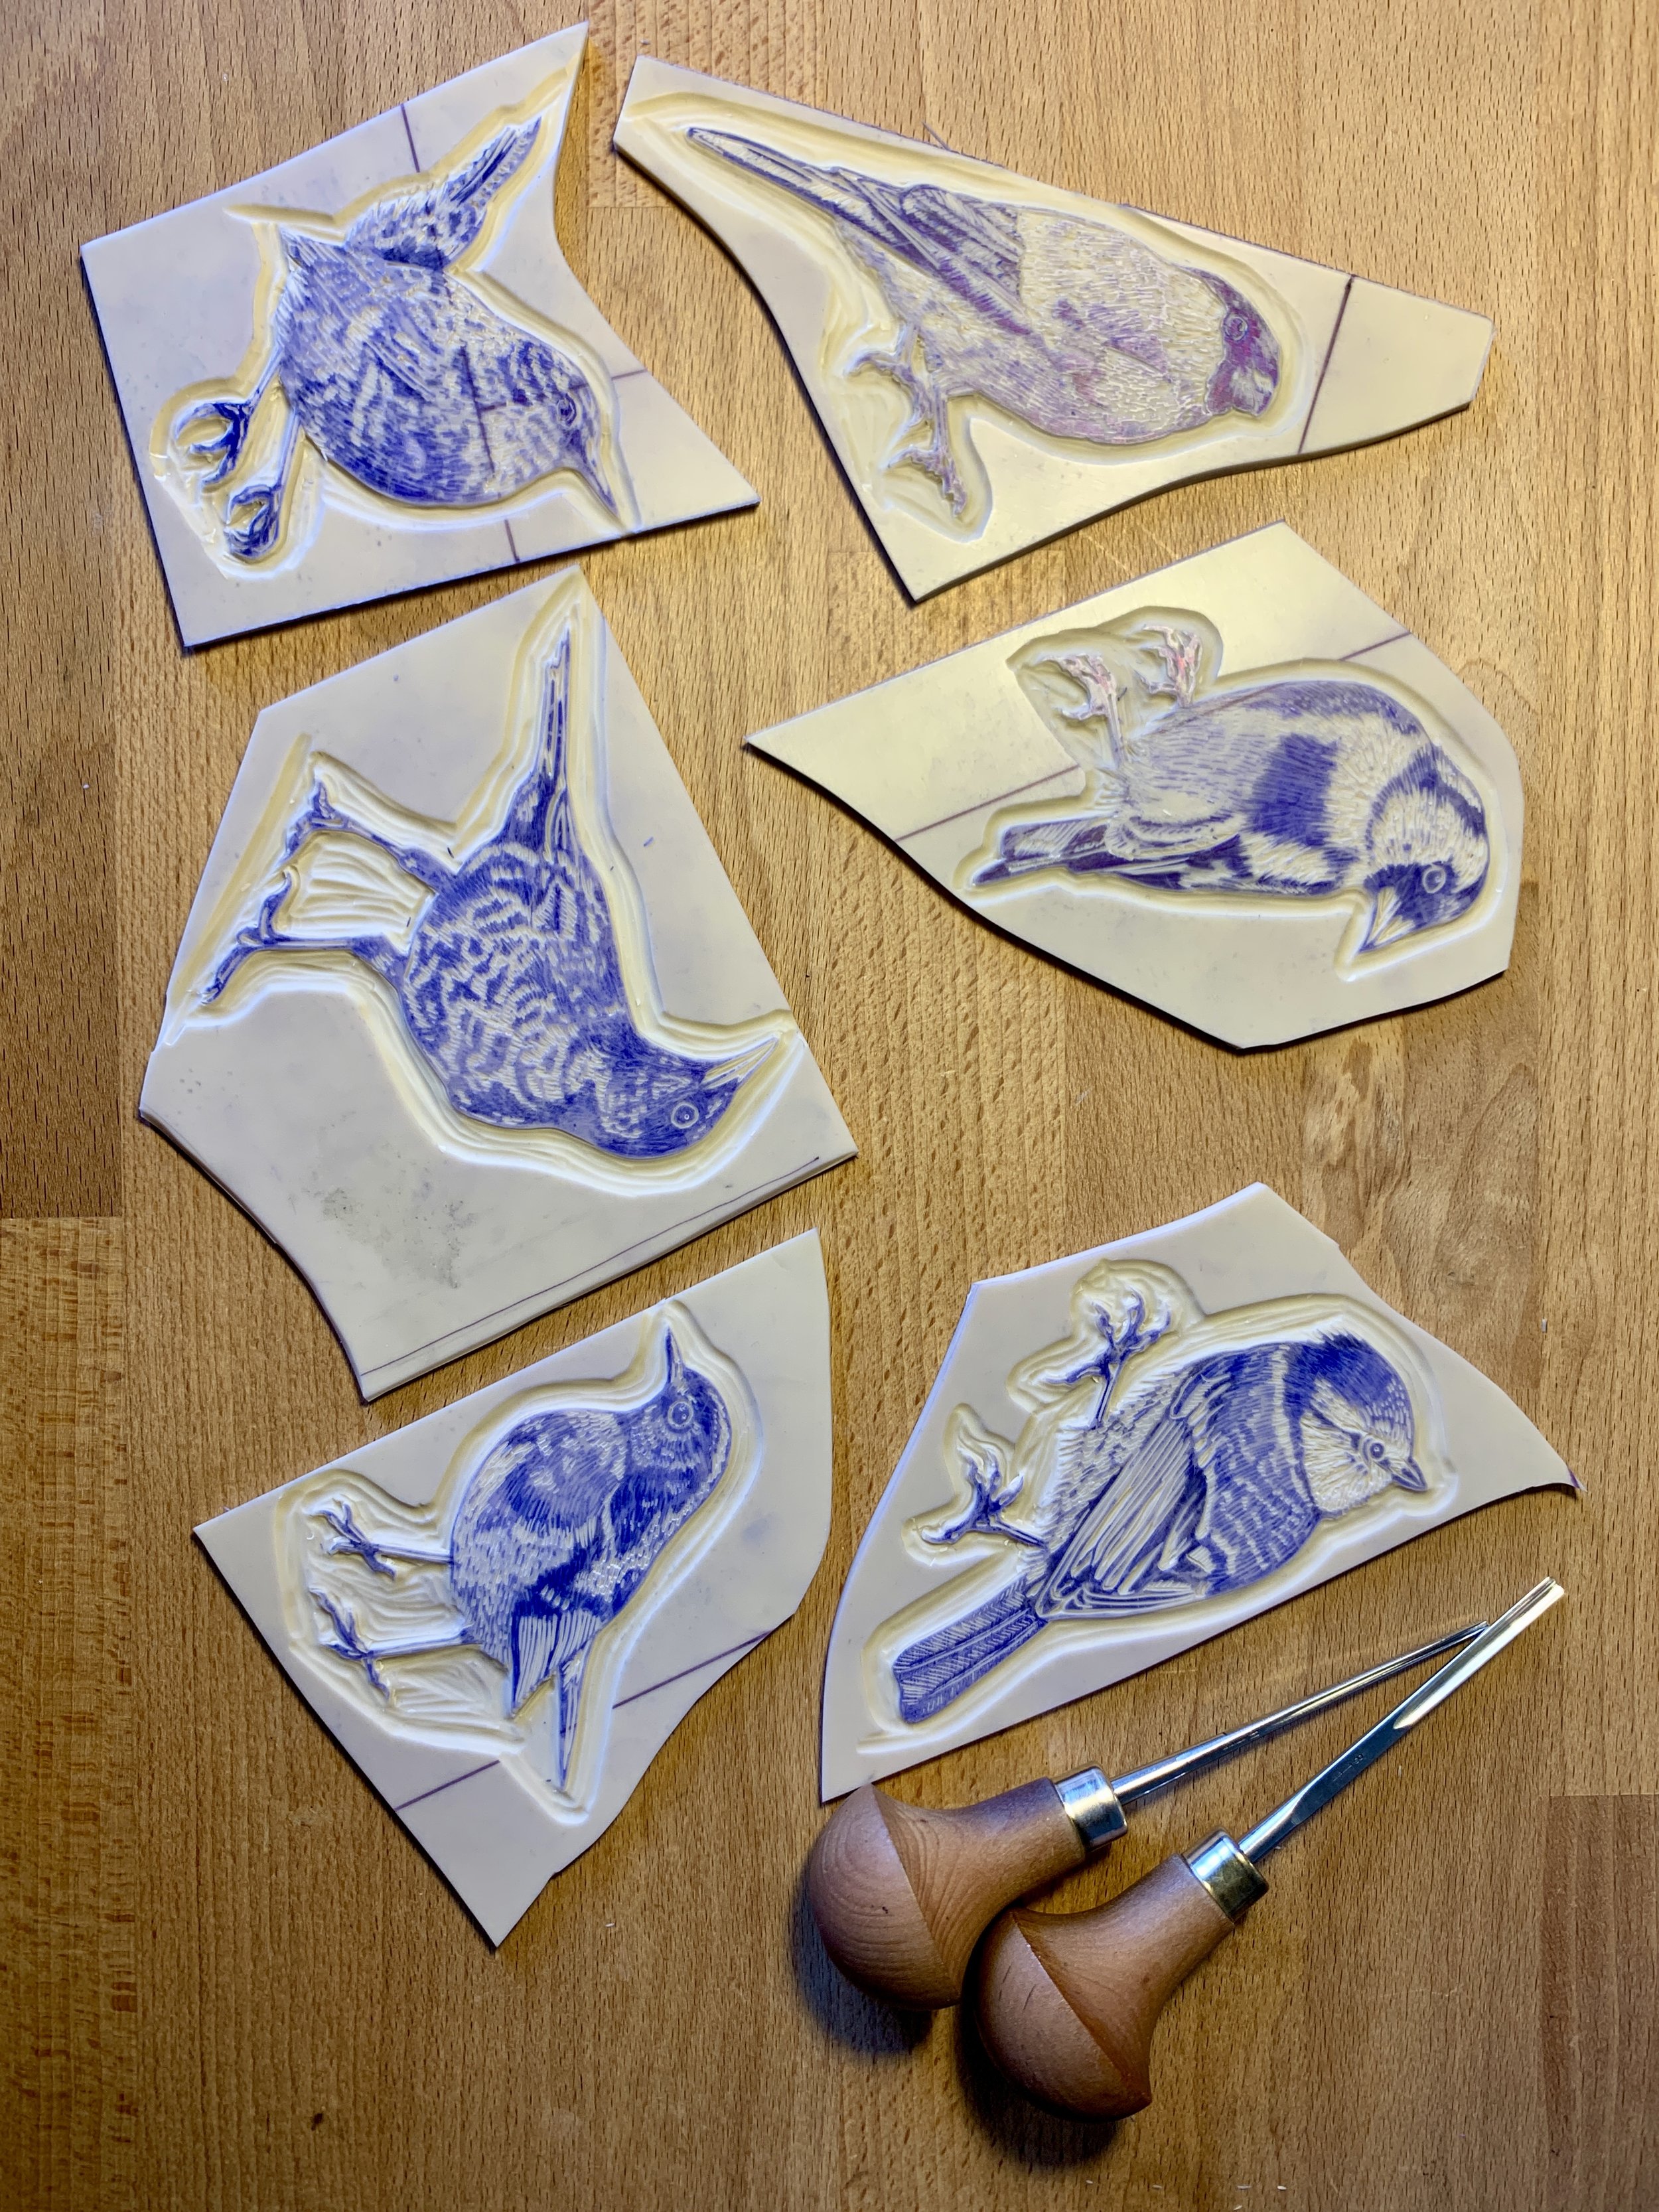
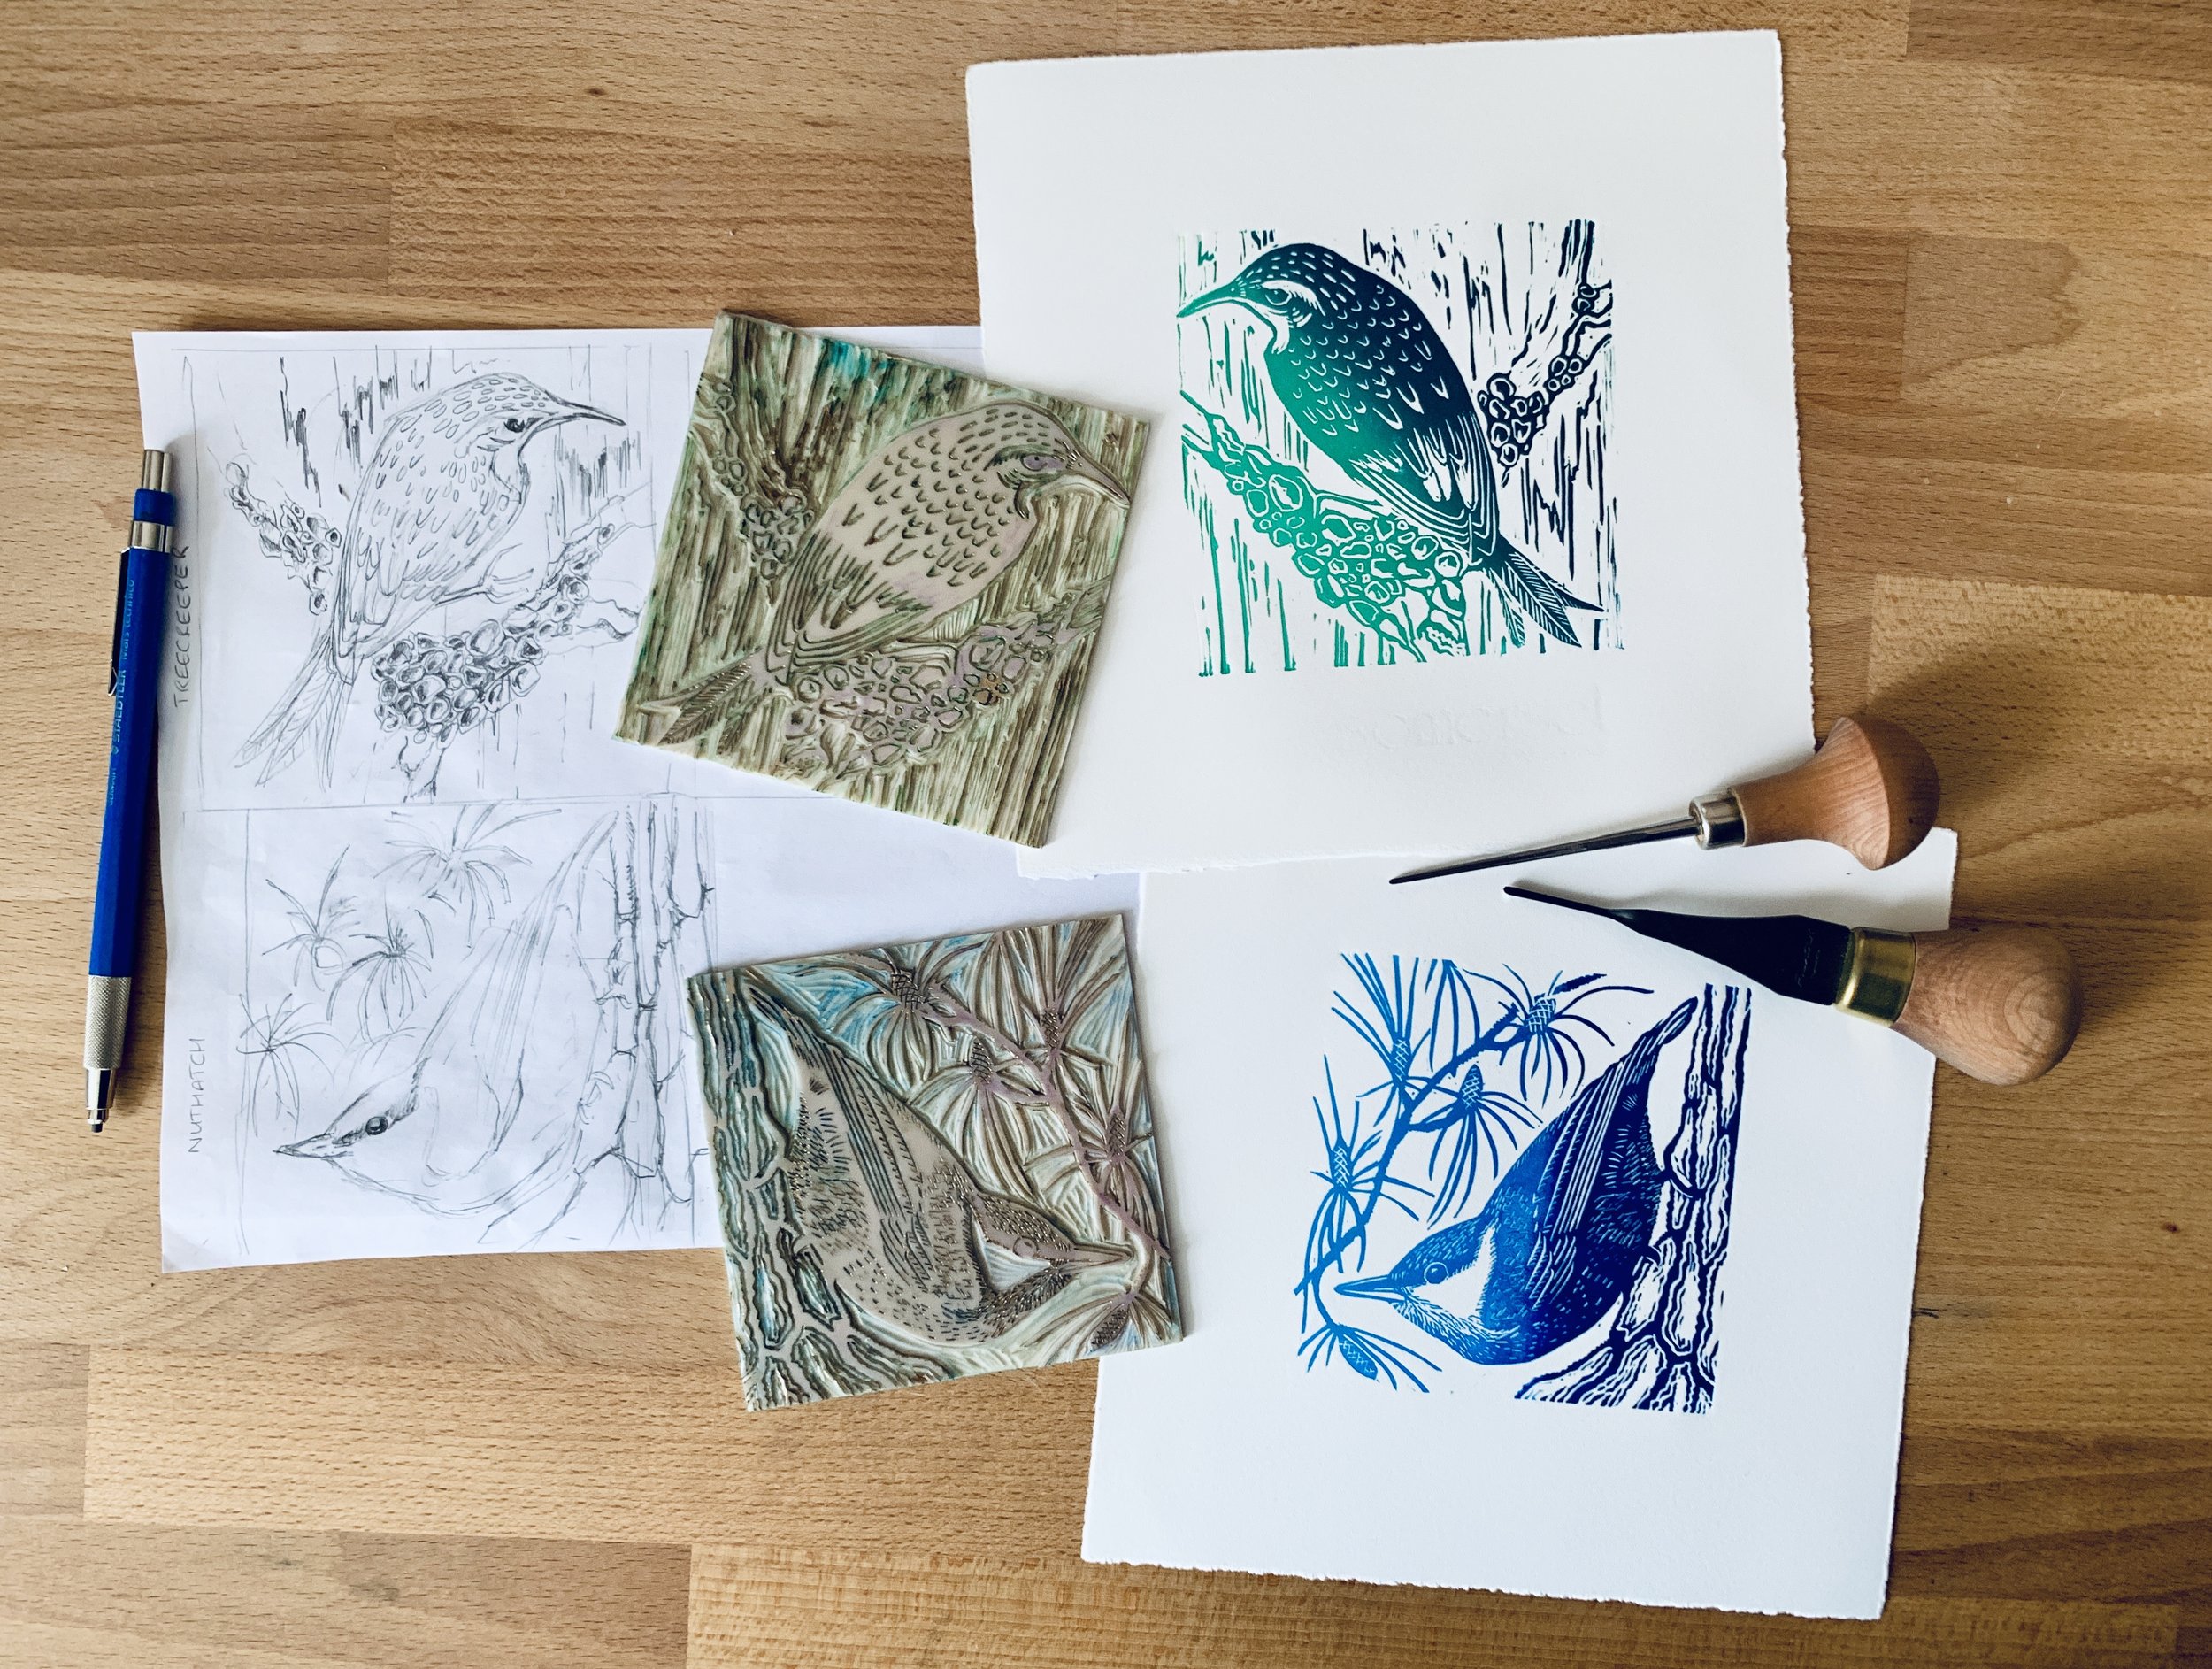
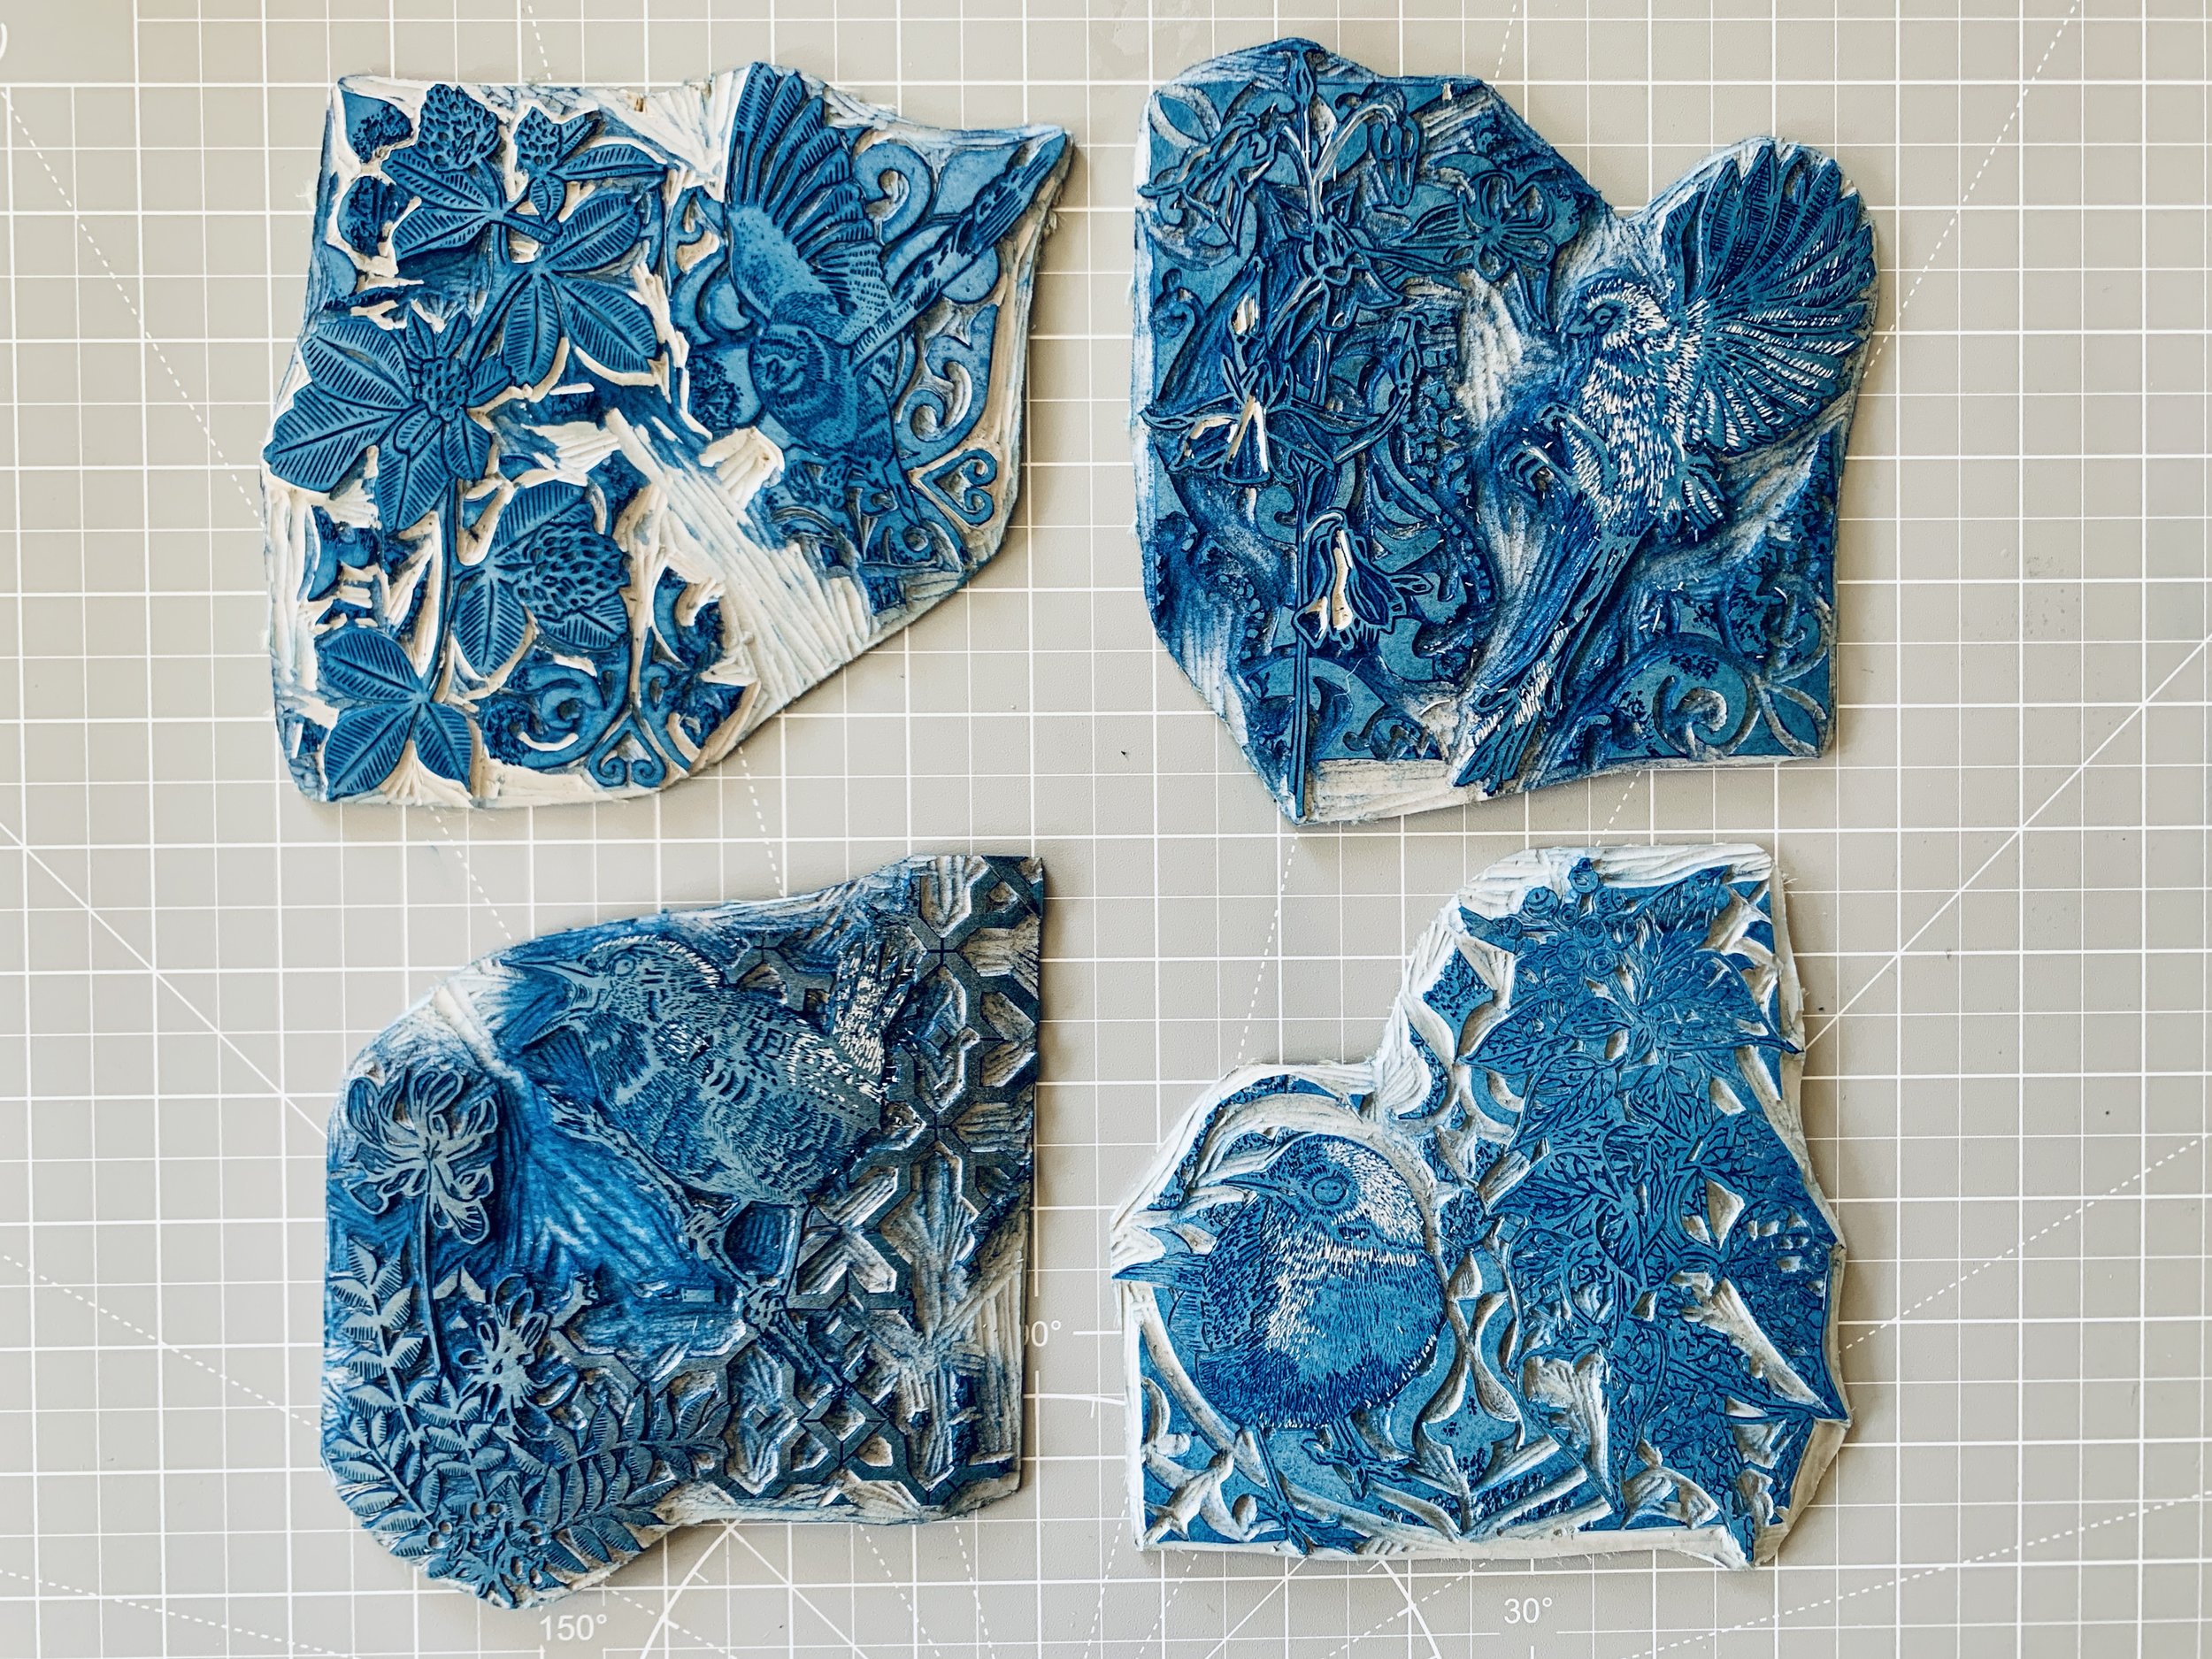
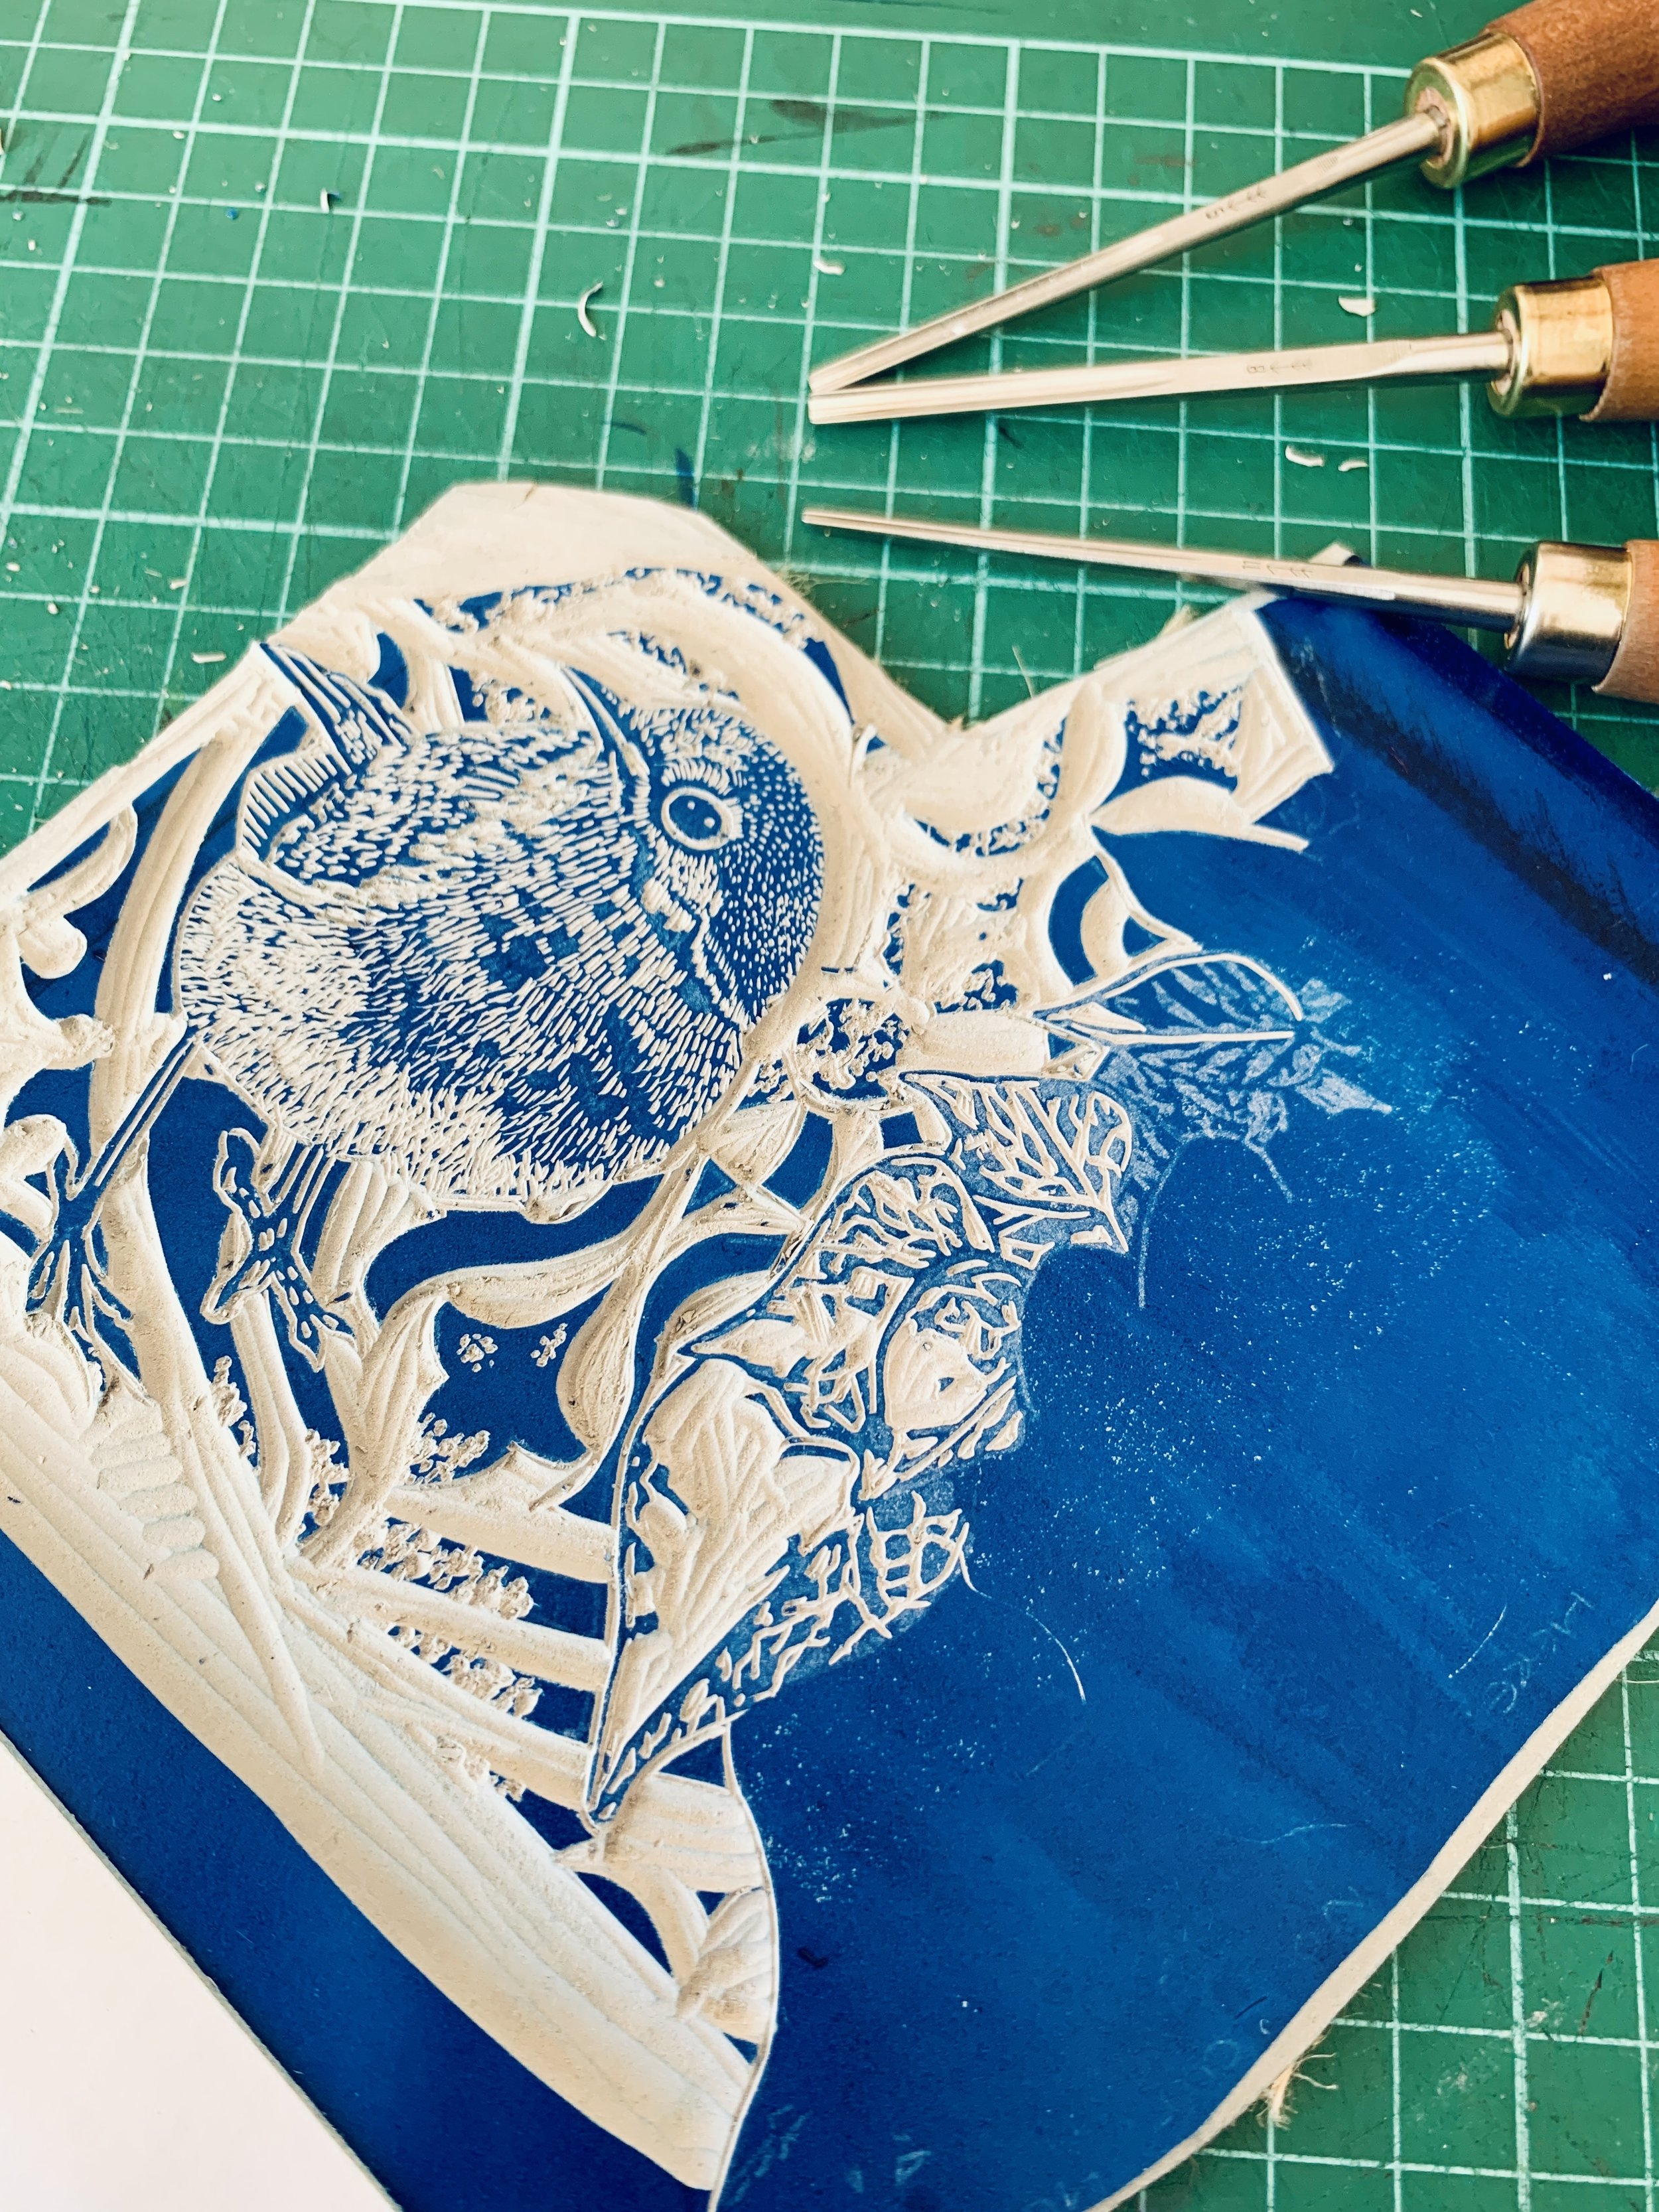
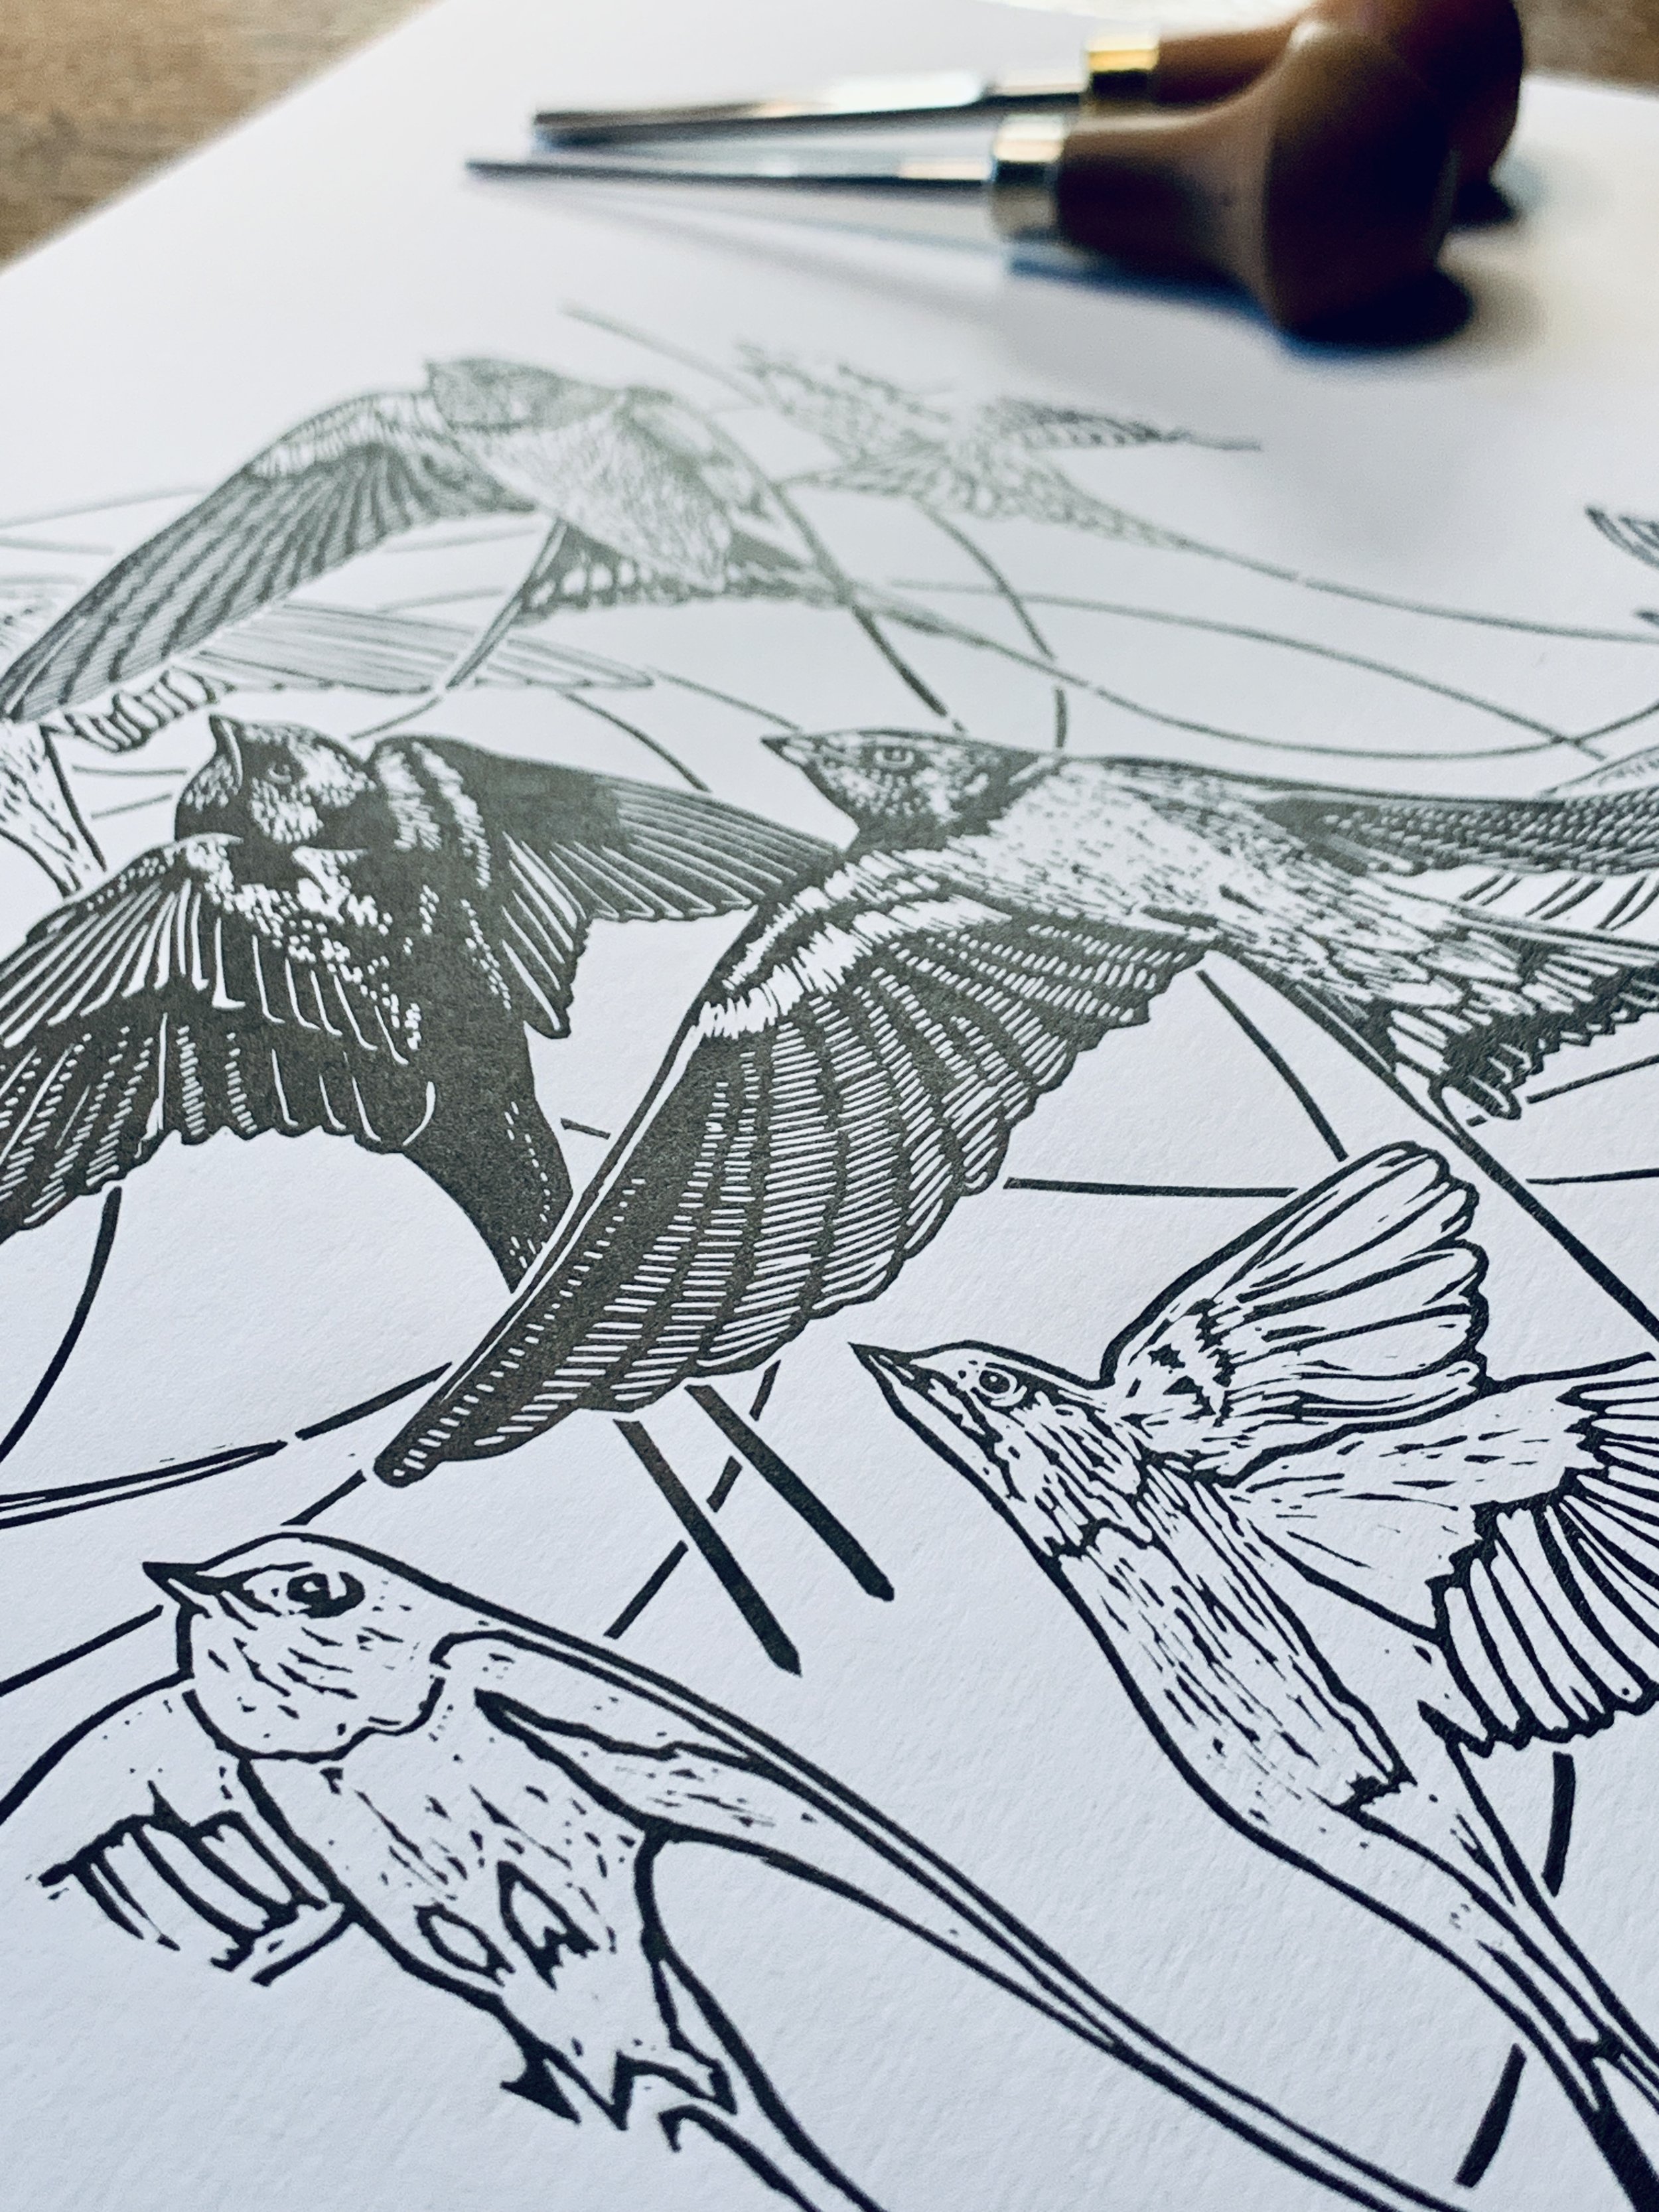
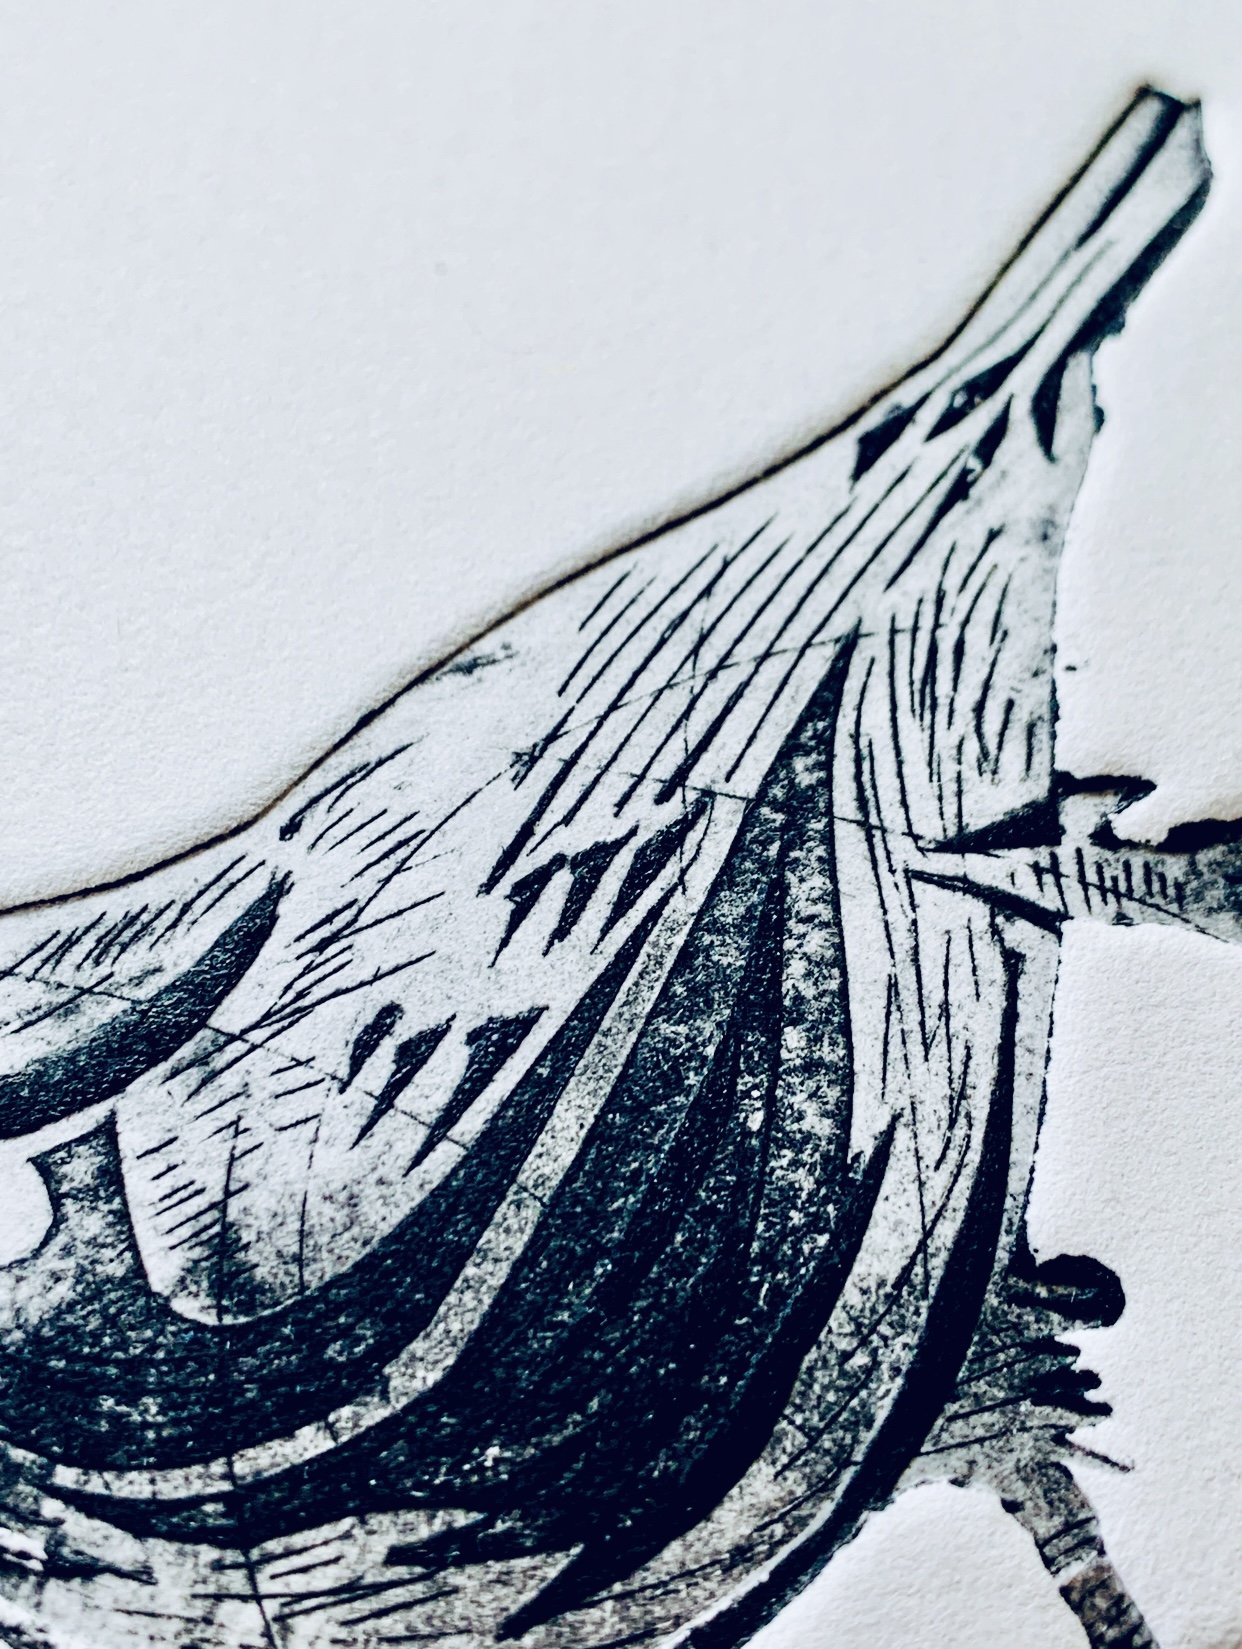
A bold printmaking technique, lino prints are achieved by cutting a design into linoleum or a synthetic rubber equivalent using a variety of sharp carving tools. Sharp clean edges and strong block areas of colour are the usual characteristics of lino prints, however, considerable detail and rougher edges can be achieved through precise marks and distressing of the surface using sharp points.
Ink is rolled on to the flat surface (any areas that haven’t been cut) and paper applied to the surface. Linoprints can be printed and completed in one print or made up of several layers of colour using repeated cuts and prints from one piece of lino, each layer requiring new cuts to remove more of the surface. This method, called ‘reduction printing’ limits the amount of prints that can be made available as once the second layer is cut, no more initial layers can ever be printed.
Standard linoleum is often the printmakers’ favourite as more detail can be achieved however it is not as resilient and long lasting as synthetic rubber lino, which can be used hundreds of times.
Quality oil based inks can take over a week to dry and so prints need to be hung individually for a period of time before packing.
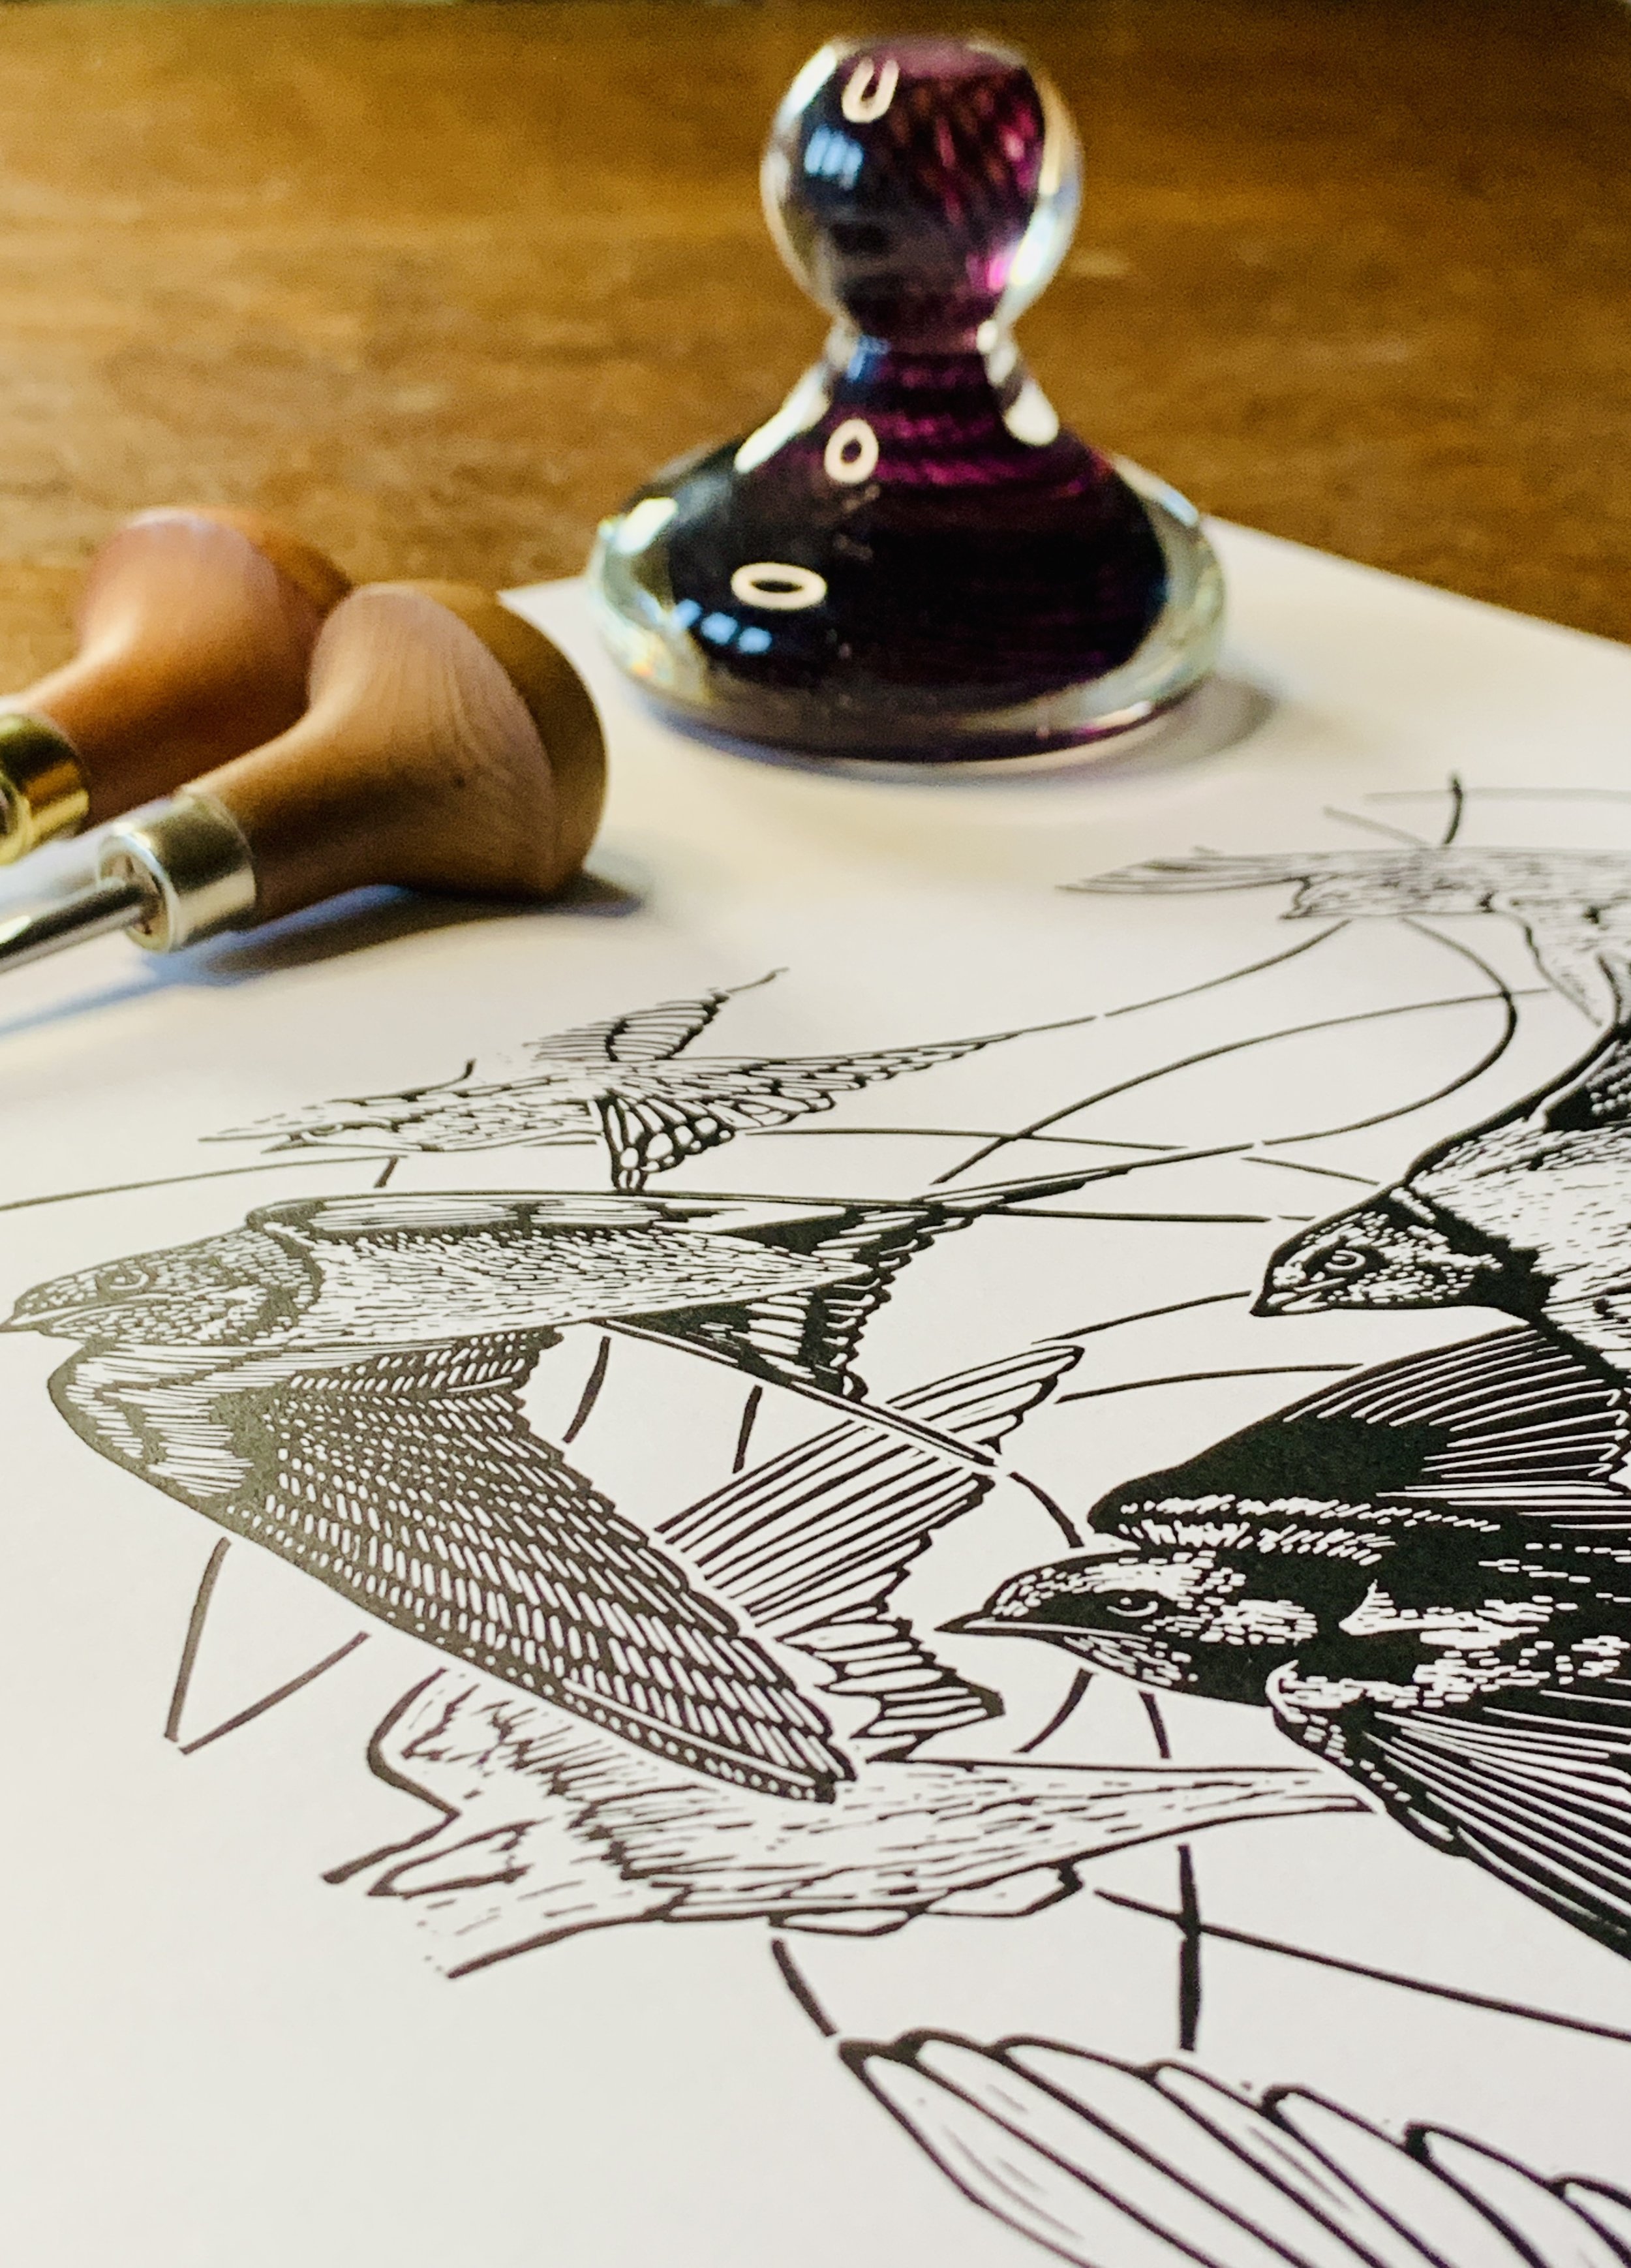
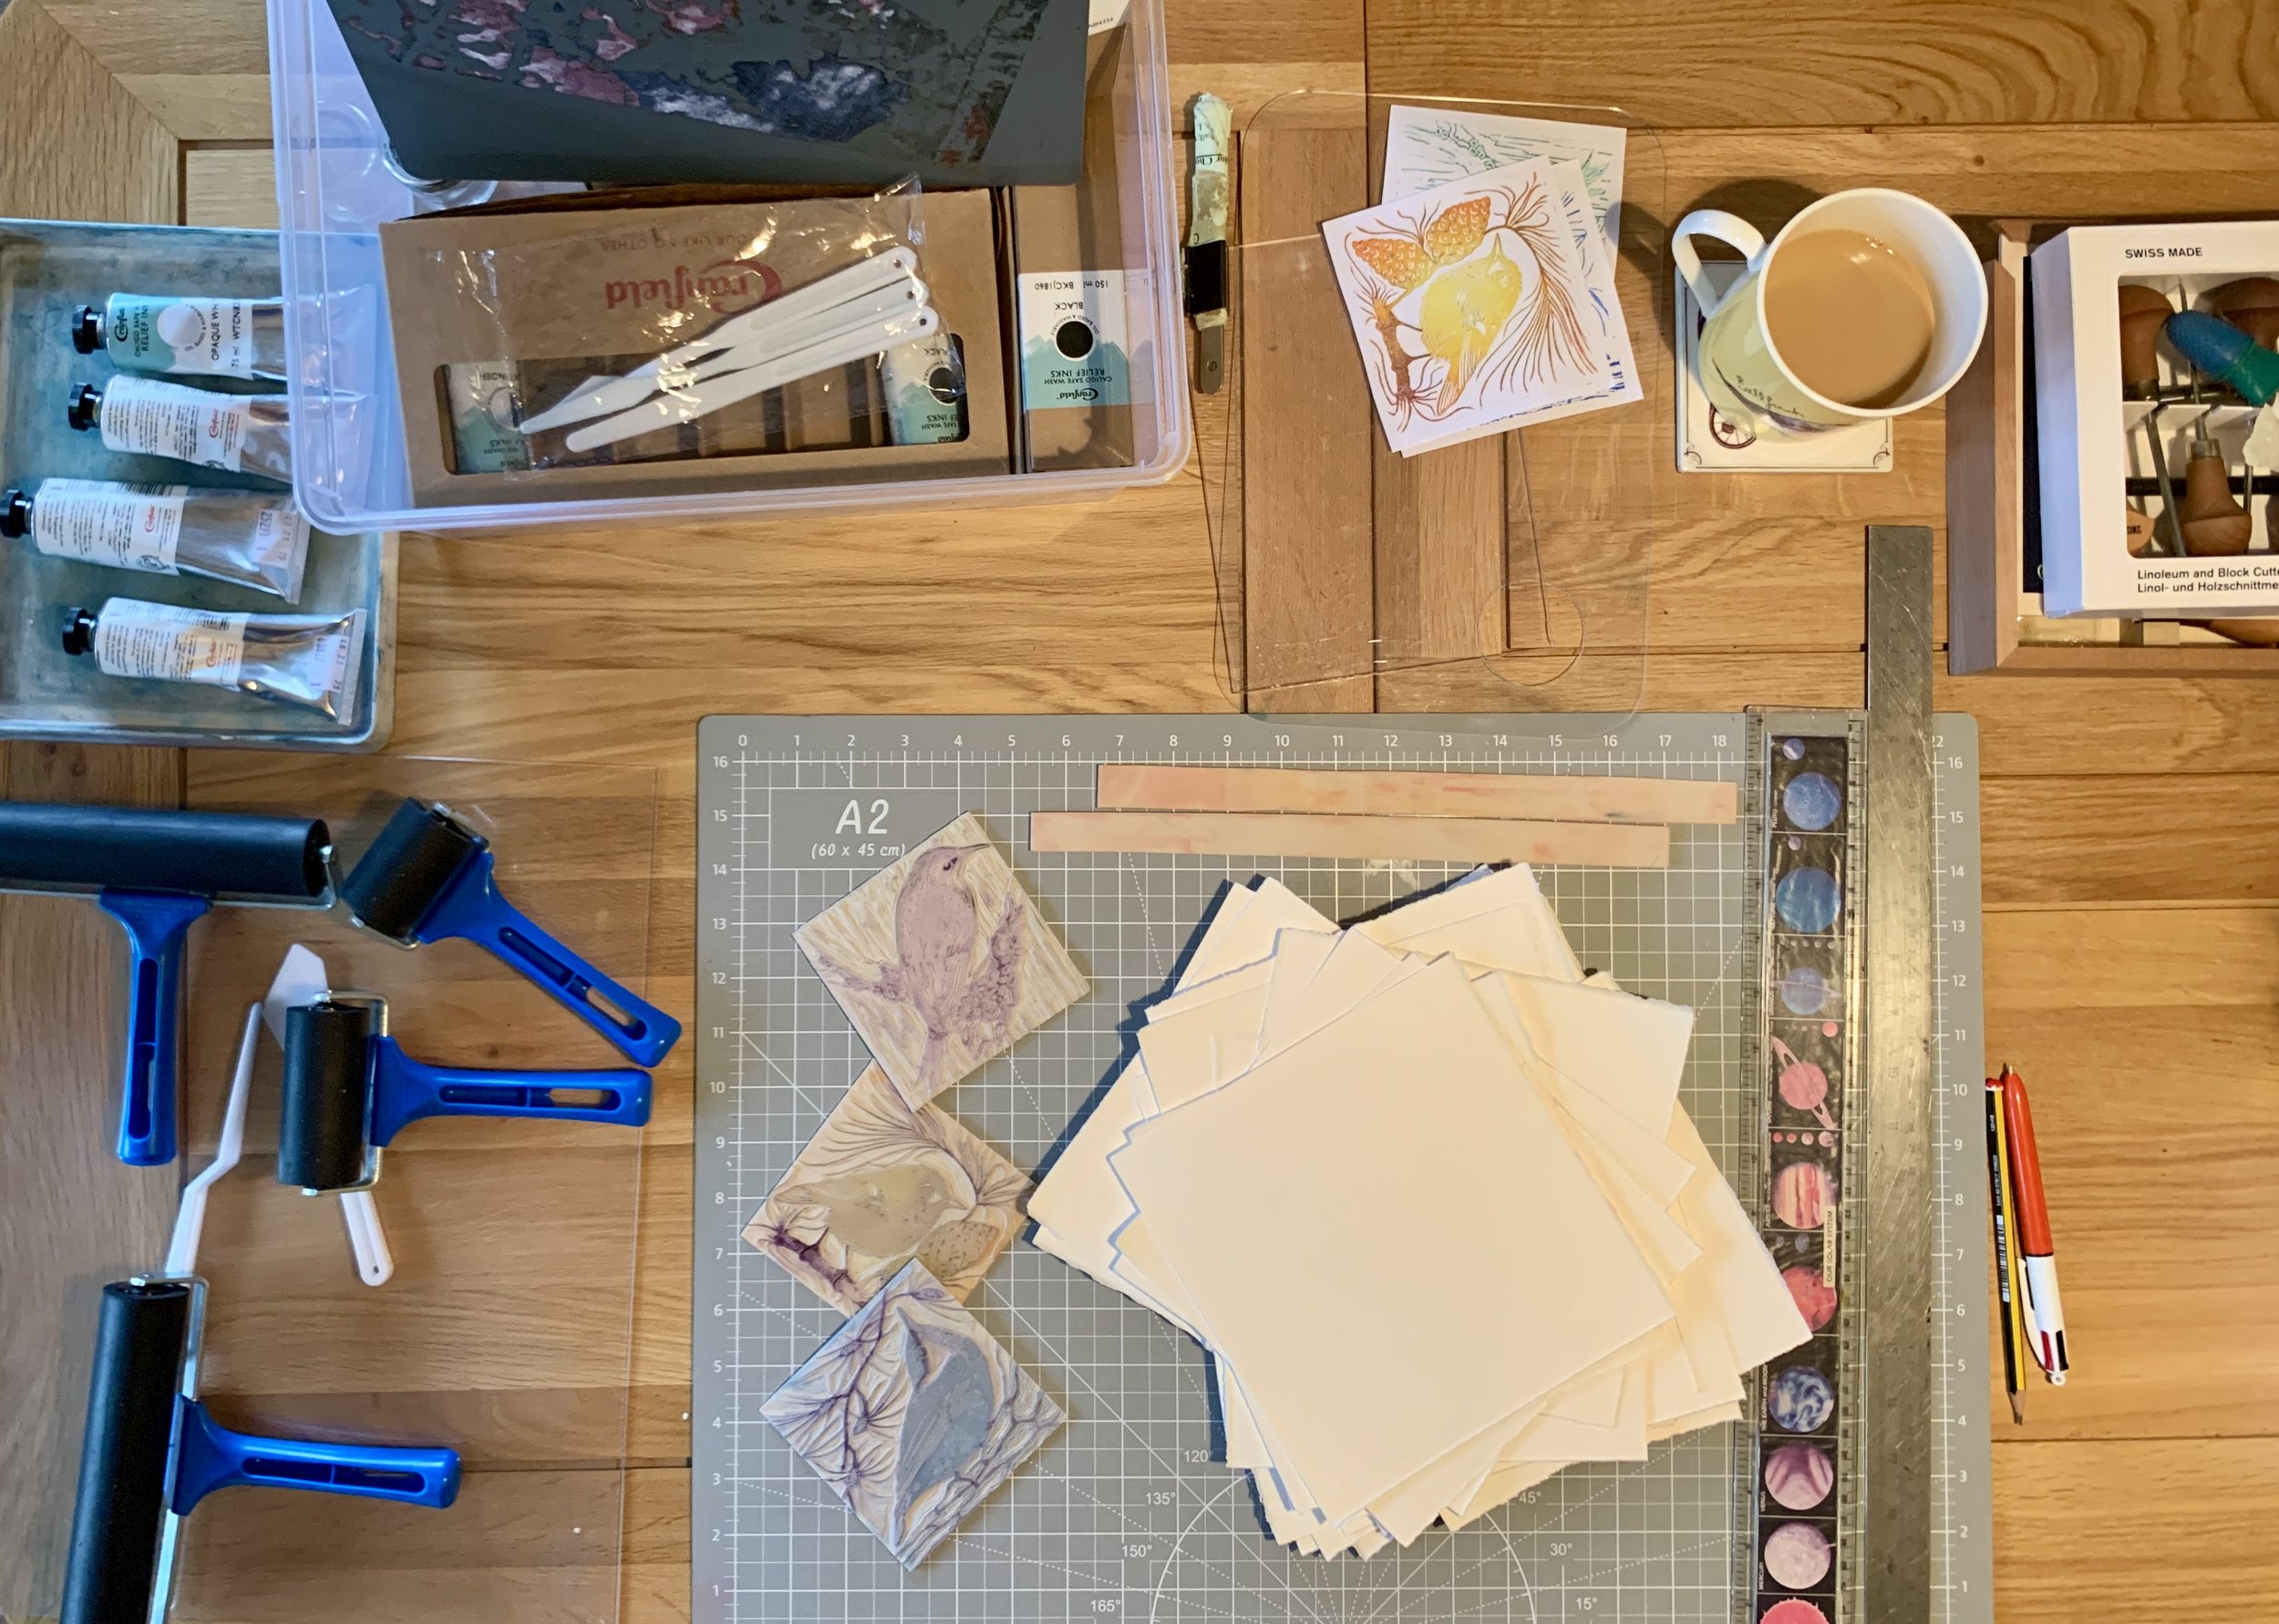
I hand press all my lino prints using a variety of tools; my favourites being a lovely handblown glass baren, a baren with metal ball bearings, a metal tablespoon and a glass jar of coins. All help the paper achieve full contact and pressure with the paper to ensure prints are clear and complete.
I hand colour some of my prints if I wish to achieve a freer more painterly feel or if I want a more complex variety of colours.
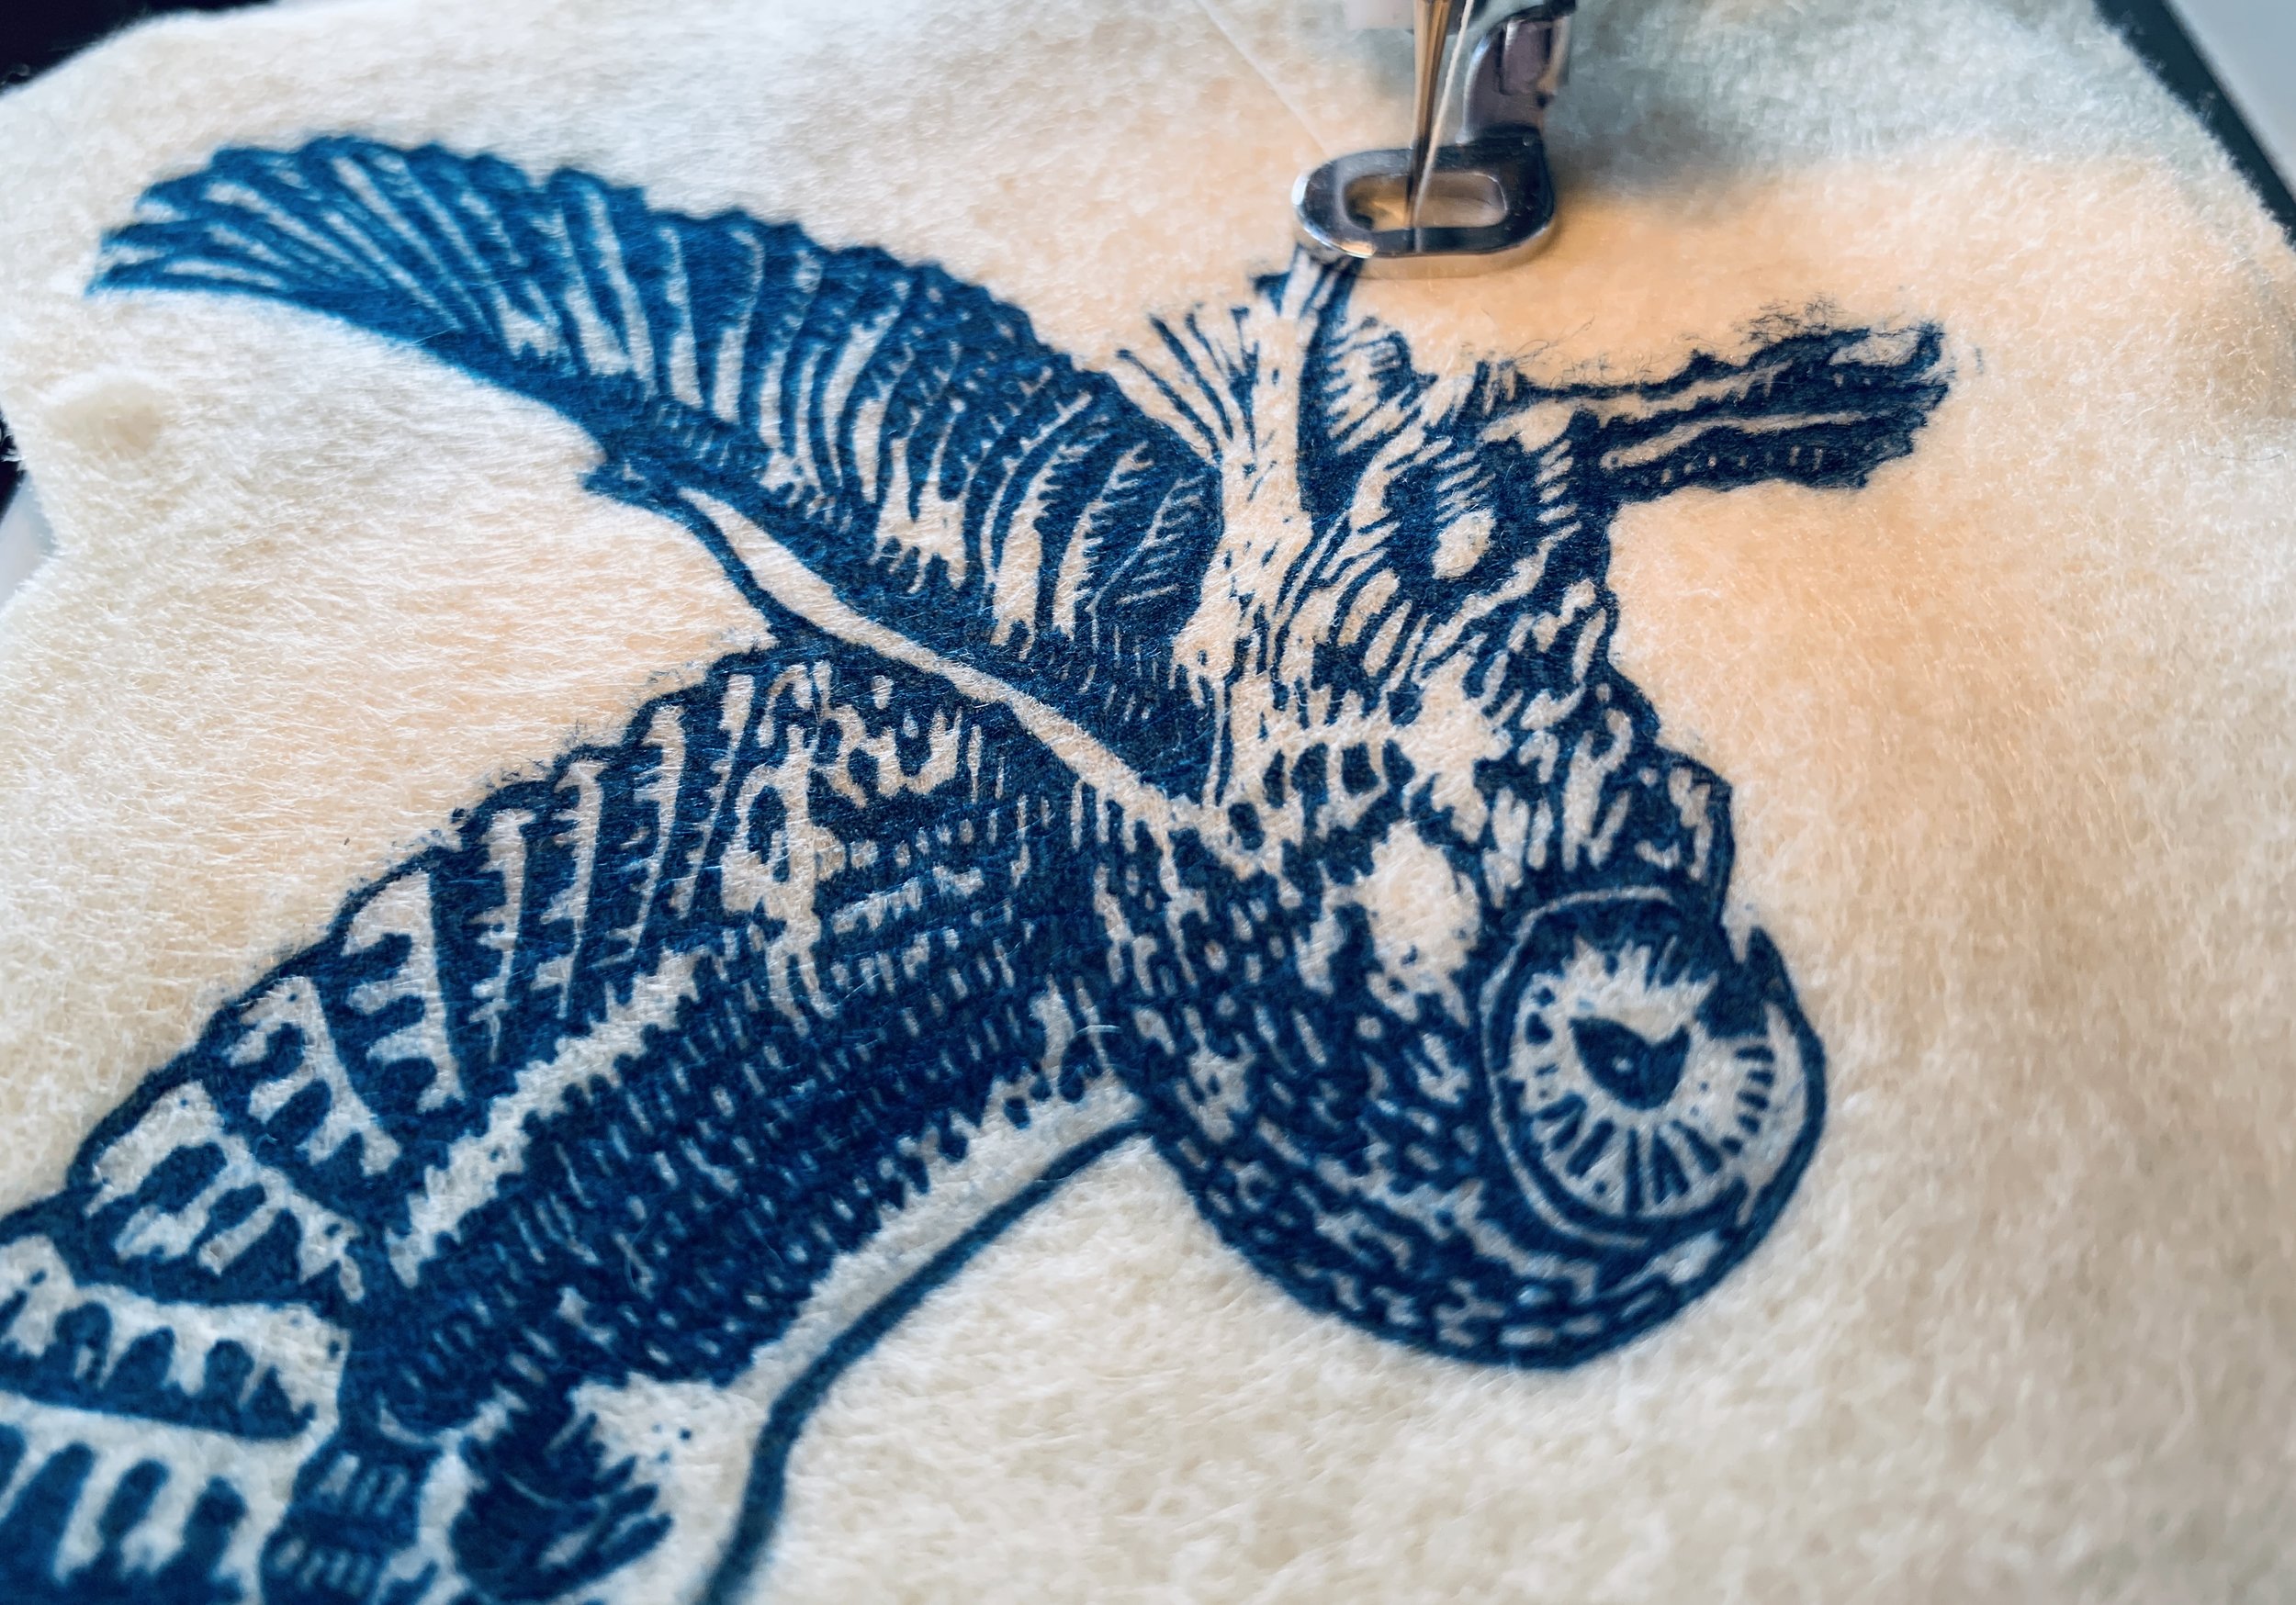
Embossed Prints
To blind emboss prints (adding texture but no ink to the paper), a variety of ‘low relief’ materials can be used. I use shallow grooves cut in linoleum and then impress the paper using various clay modelling tools with rounded ends to avoid piercing the paper. I also cut my own stencils which create more subtle outcomes.
I print my lino images and then blind emboss the white areas of the paper to add texture.
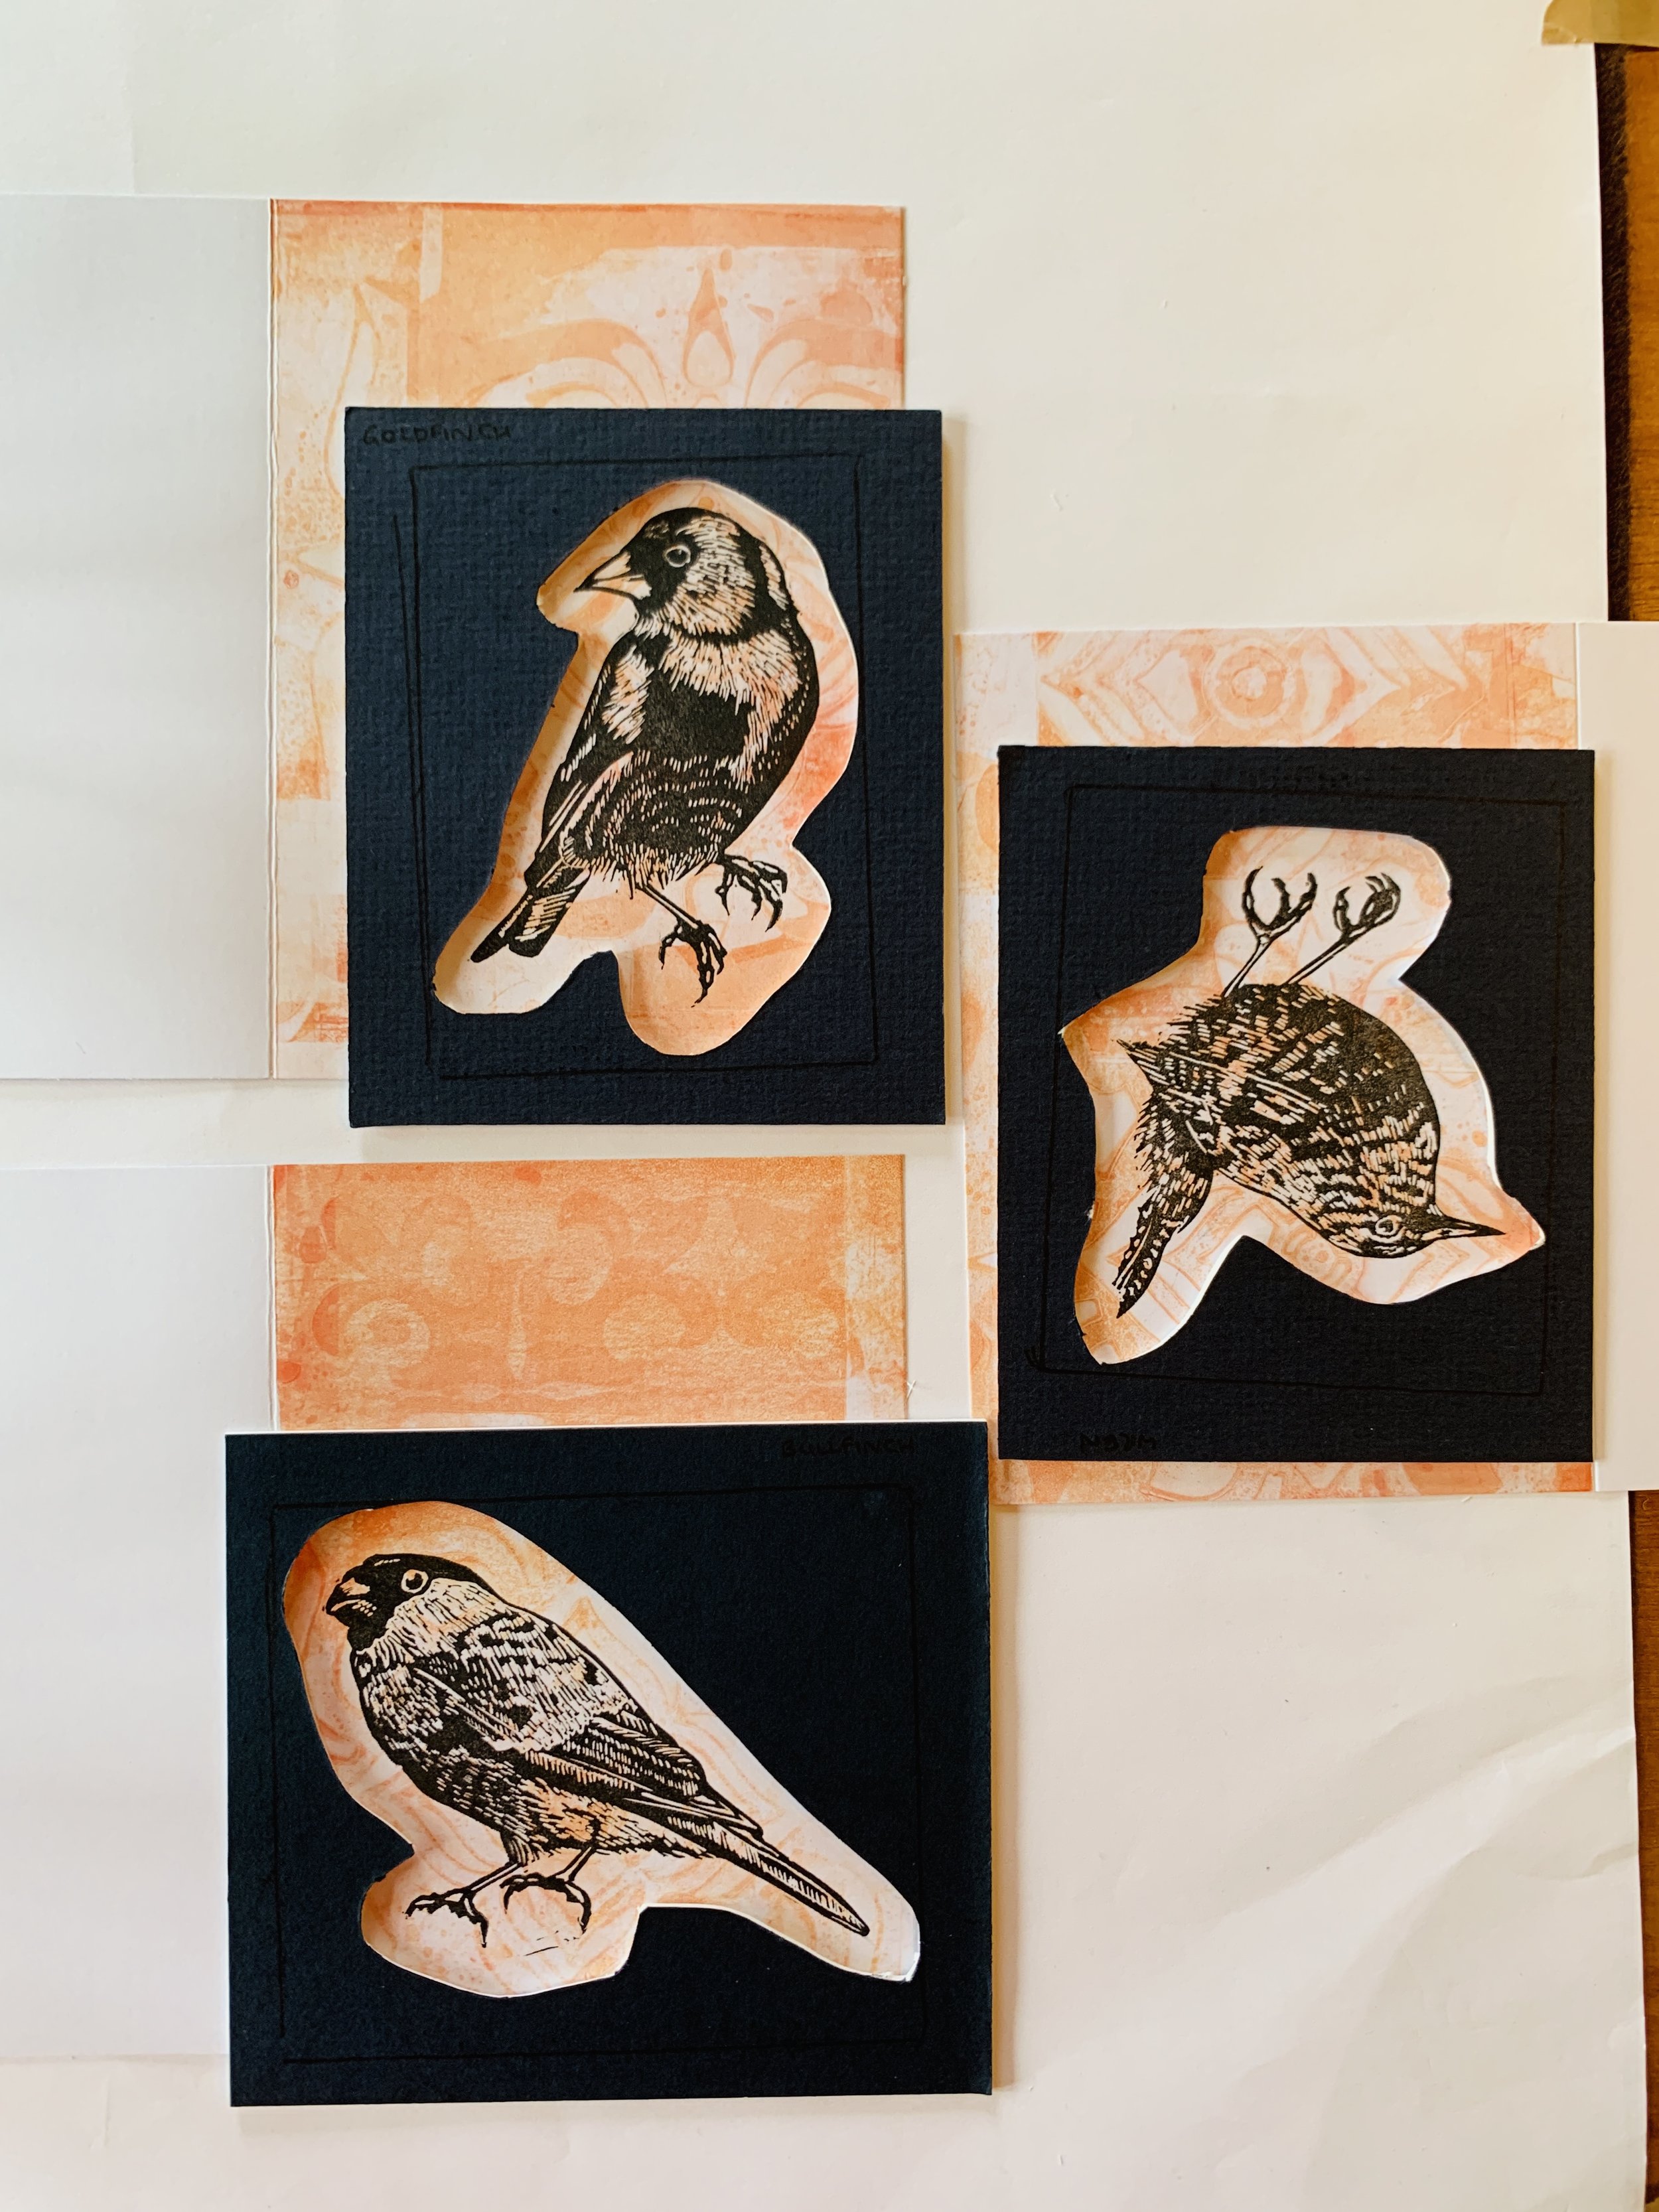
Collagraph Printing
A subtle and organic printmaking technique, collagraph prints are achieved by altering a surface (such as mountboard) by cutting layers away, distressing by scratching or pressing, or by adding surfaces on top) and then printing the result by rubbing ink into the entire surface and then wiping the required ‘excess’ away before printing.
A collagraph plate surface cannot be too textured as it needs to pass through a press and so it means that a lot has to be achieved through subtle markmaking and texture.
Collagraph prints are also limited in number due to their delicate nature, meaning that only a small handful of prints can be pulled. Due to the fact that ink is applied and removed by hand, every print will have subtle differences.
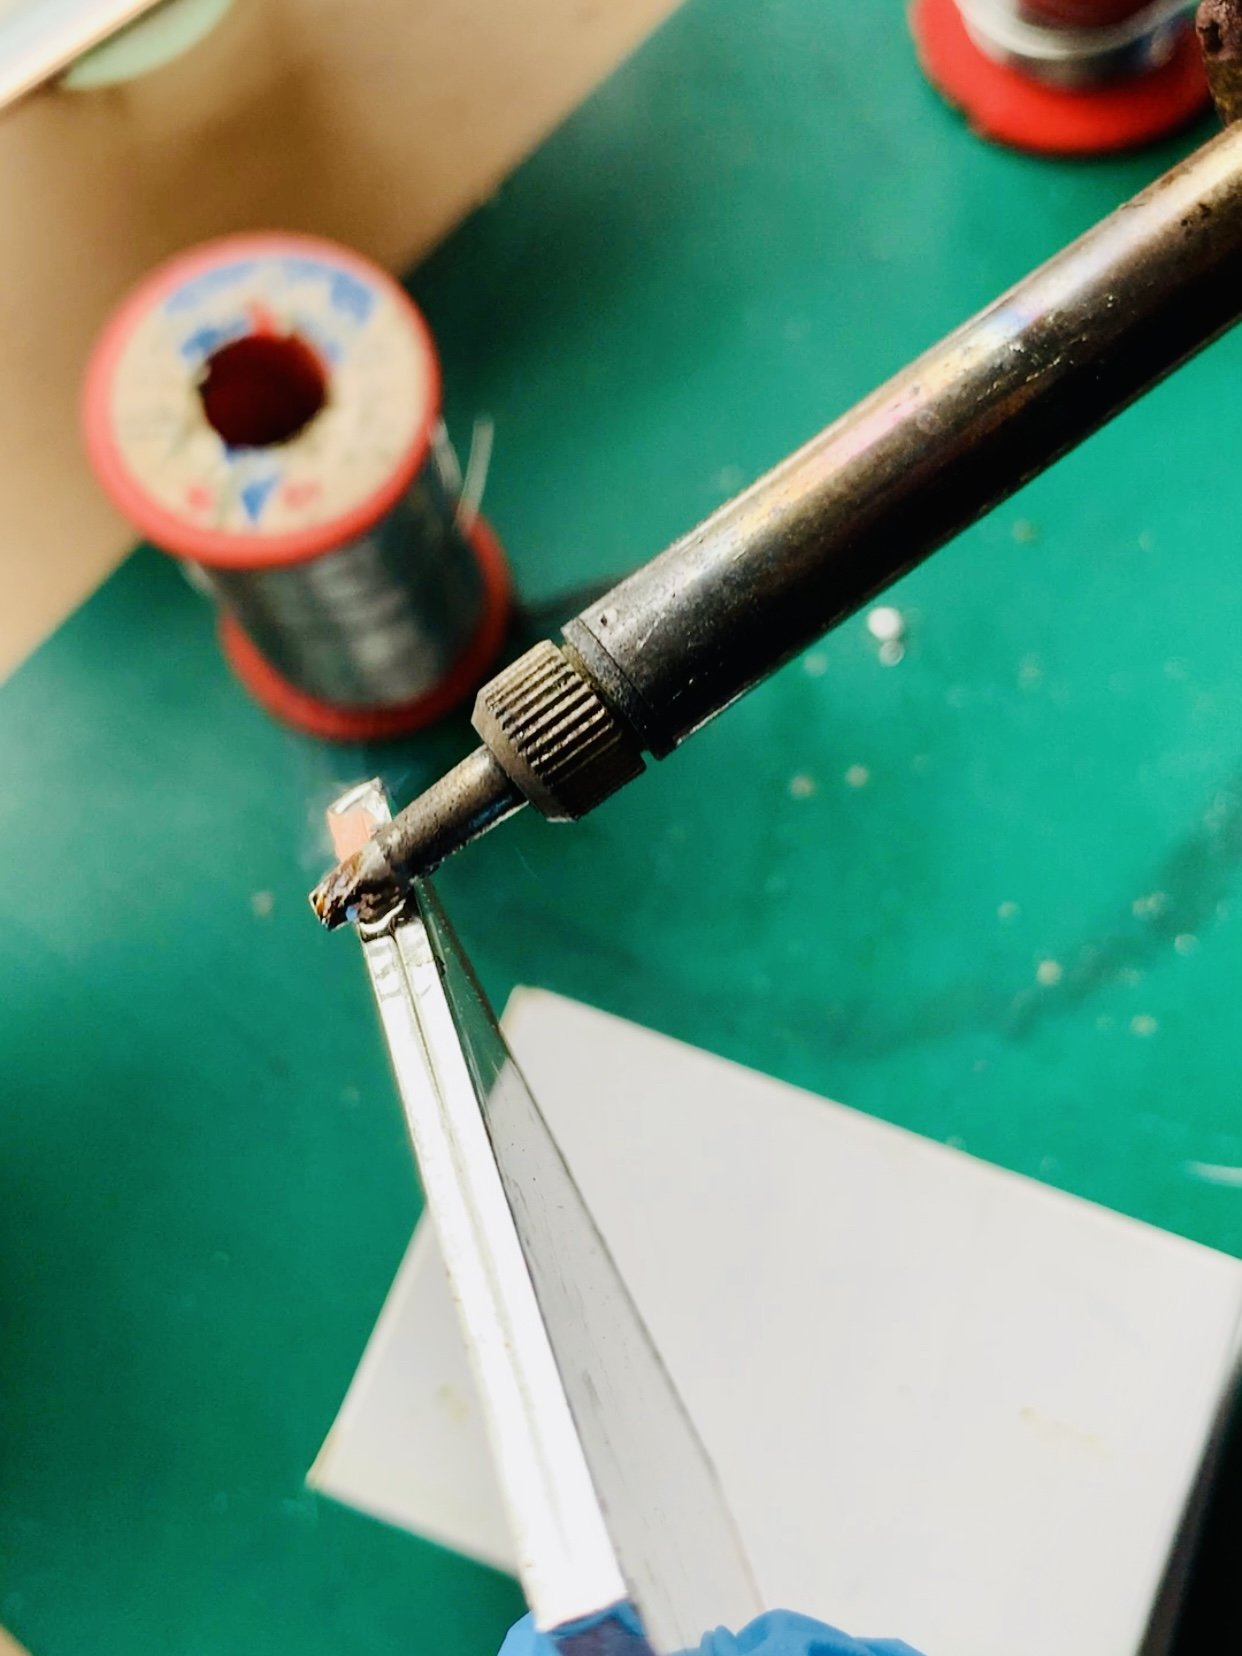
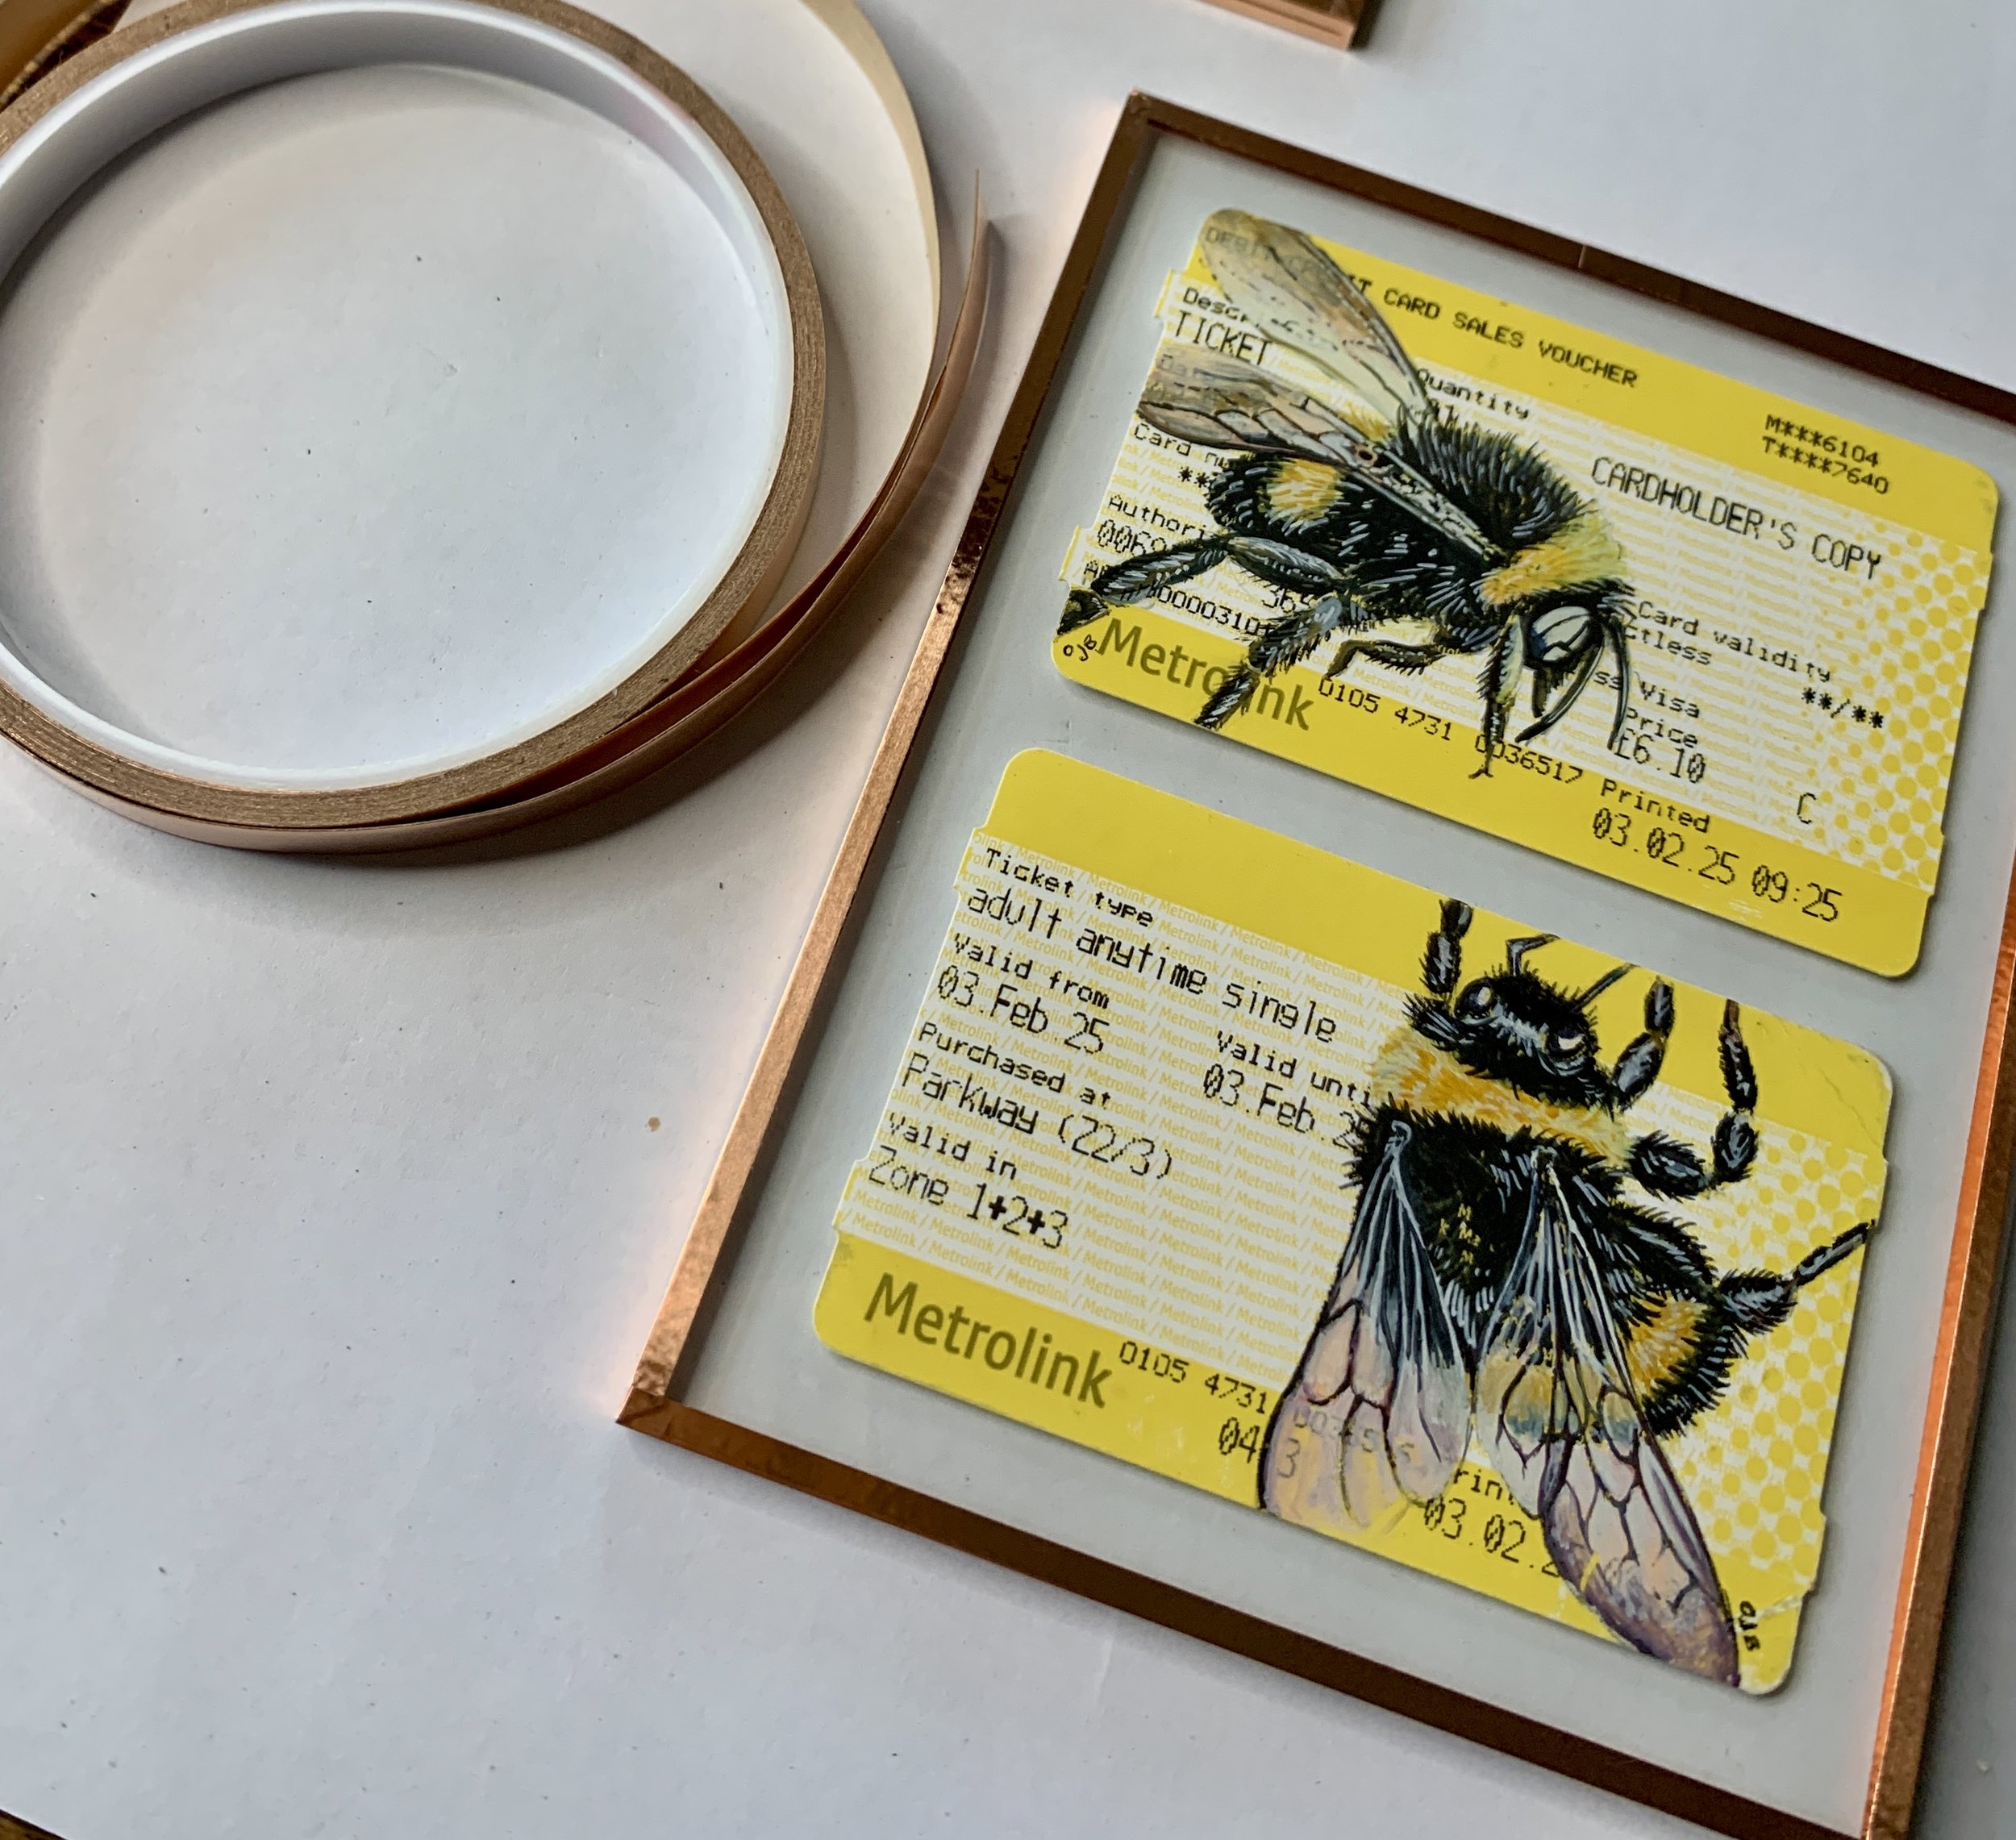
Copper Foiling
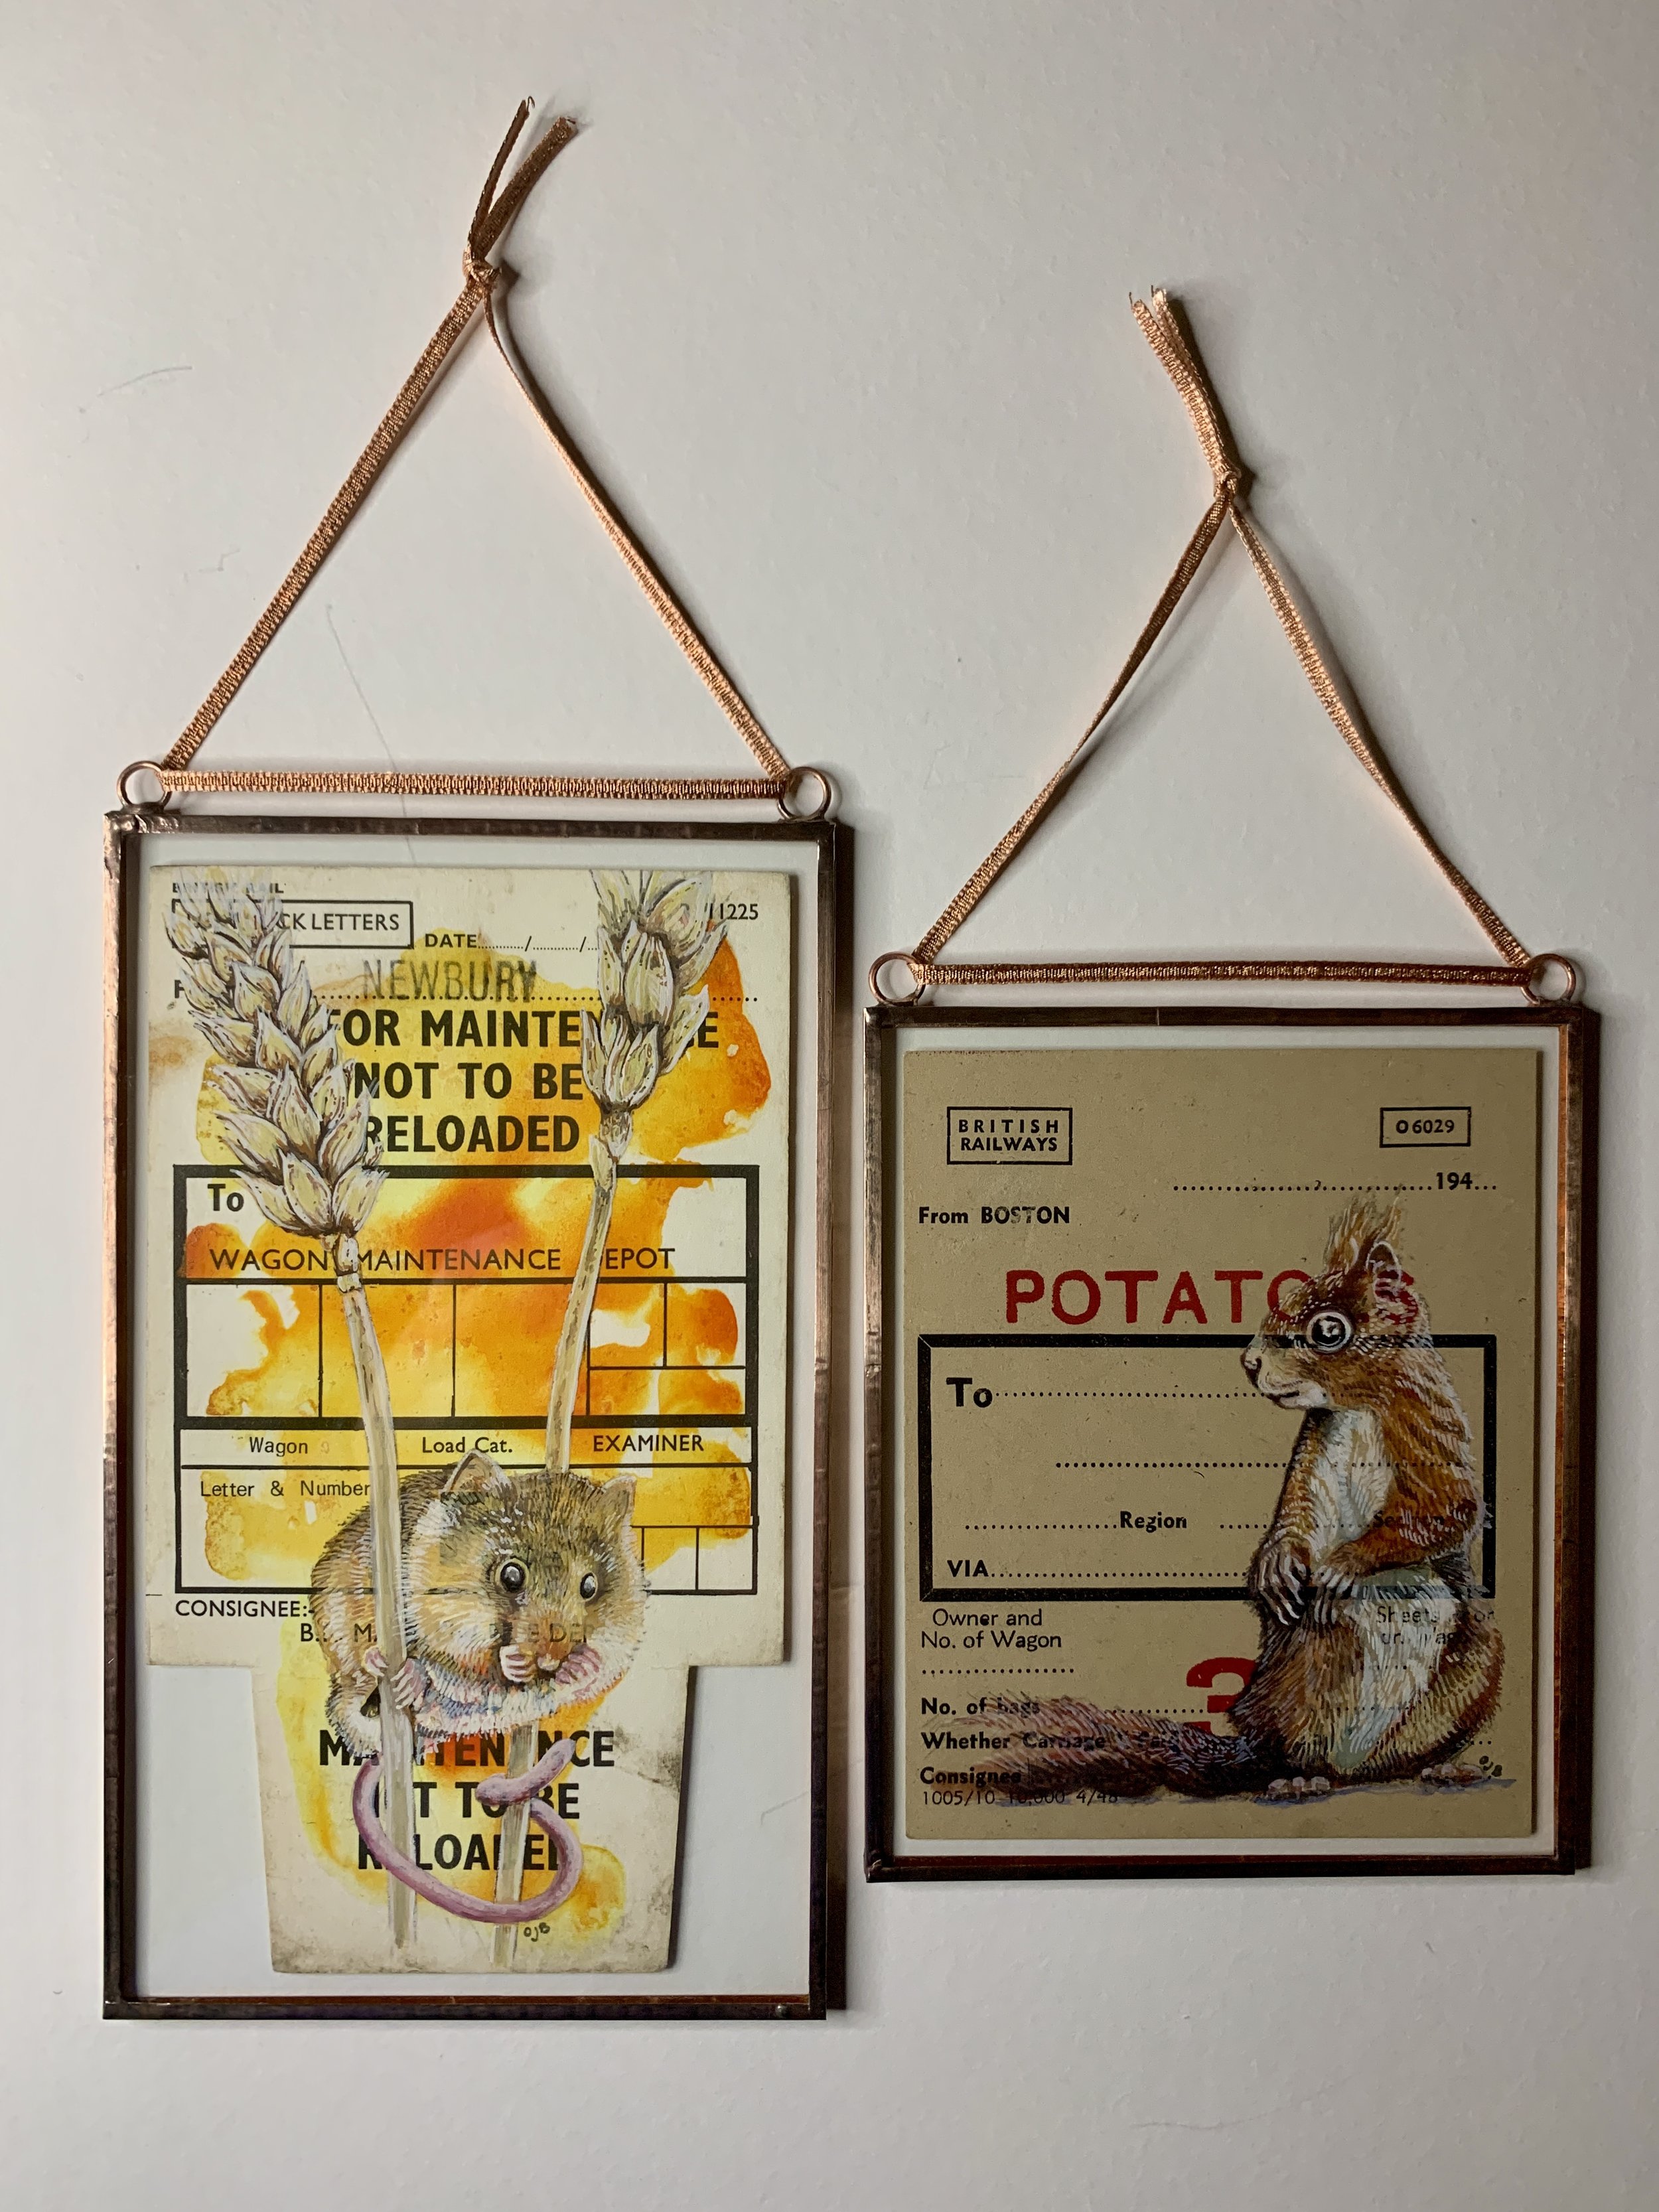
I aim to produce as much of my work myself as possible, and this includes framing my own work where appropriate. Having gained a degree in Glass (glassblowing, cast and architectural glass) I have been working with glass for many years.
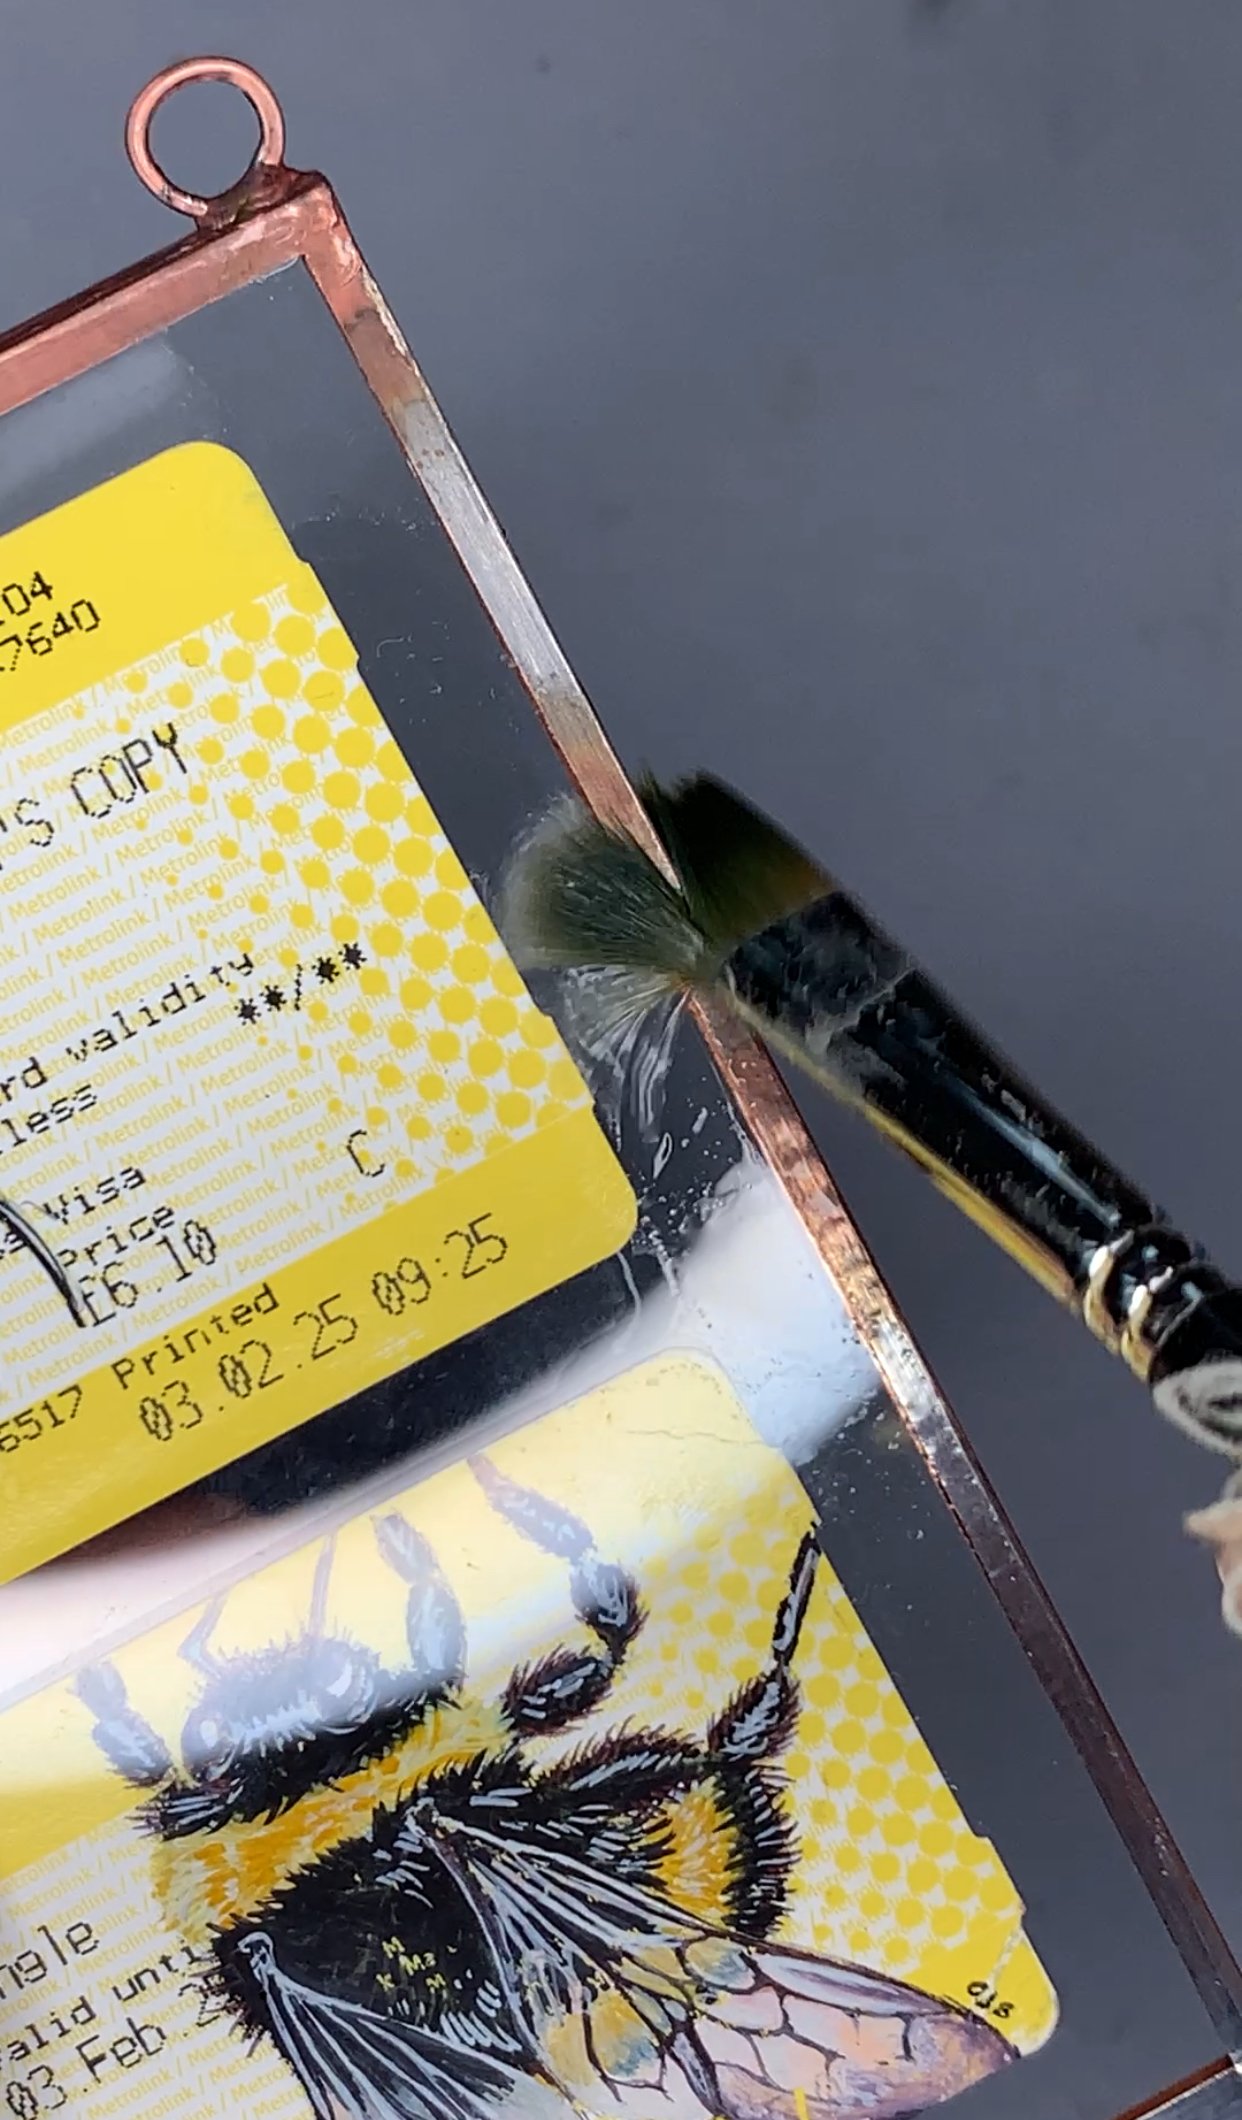
For my smaller scale work, copper foiling is a distinctive method of framing as the work is effectively suspended between two sheets of glass. A copper border surrounds the glass to create a contemporary but timeless feel which looks equally at home in a period property. This method enables the work to be hung with copper rings or placed on a stand.
From an archival point of view, this method effectively seals the artwork tight with no chance of air accessing the paper, protecting the piece indefinitely. In addition, the back of the piece is visible which enables the viewer to be able to see the entirety of paper ephemera such as train tickets, wagon labels, old book pages and maps, some of which can have handwritten notes or printed text of particular interest.
Two pieces of glass are cut to the same size for the front and back of the piece. Once cleaned, the artwork can be laid between the sheets of glass and aligned.
Copper foil tape is then carefully wrapped round all the edges of the glass, effectively joining the pieces together.
A lead/tin solder is the applied in a thin layer around copper foil tape which strengthens the structure around the glass. For pieces made for hanging, copper rings are made and soldered to the top of the piece.
To finish, a copper patina is applied to the solder to bring out the copper colour and the piece is fully cleaned and polished to achieve a shine.
For those pieces that are placed on stands, we make all the stands ourselves out of reclaimed oak or other hardwoods.
